Quick Berry Sauce

I thought I’d share this super easy recipe because it’s a staple in our house. If we have pancakes, crepes or waffles I often make this super easy berry sauce. When I was growing up this was something my mom always made. I am going to share the recipe below but please note this is more of a best guess on the measurements as I typically just wing it.

This is a very forgving recipe that doesn’t need exact measurement. You can do more or less sugar depending on your taste and more or less of the cornstarch slurry for your preferred thickness..
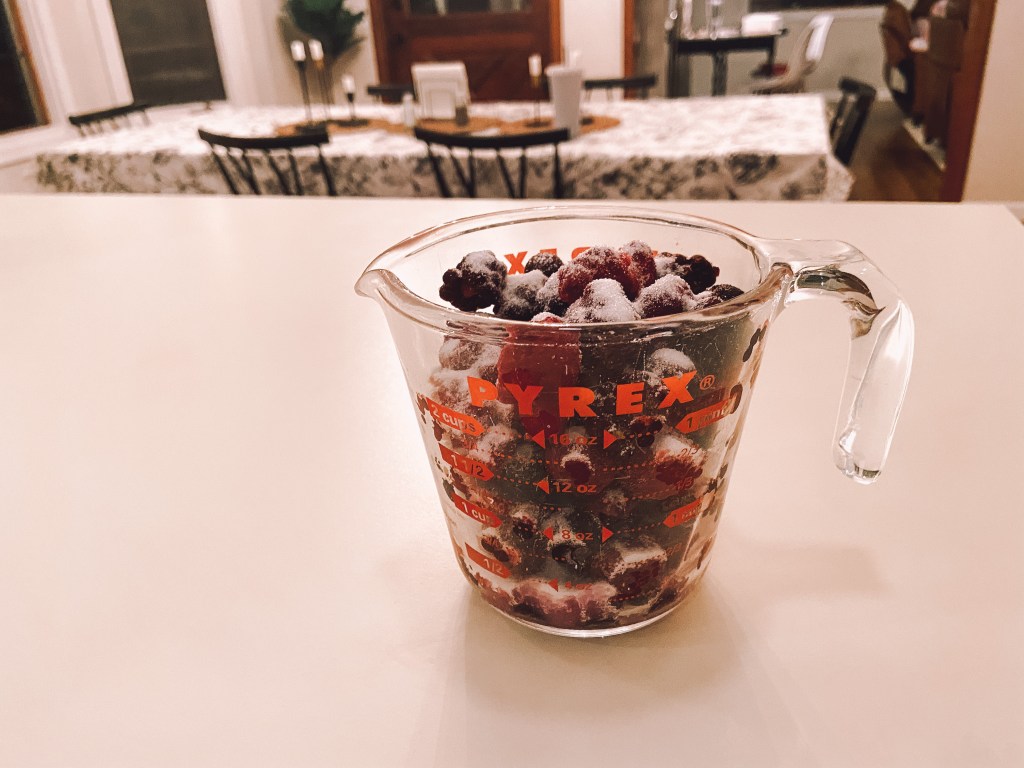
Ingredients:
2.5 cups of frozen mixed berries (or any type of frozen berries)
3 heaping tablespoons of sugar
1 tsp corn starch mixed with 2 tbsp cold water (cornstarch slurry)

Instructions:
Fill a microwave safe bowl with frozen berries, top with sugar. Heat in microwave for 2-3 minutes. Once berries are completely defrosted & heated through, add cornstarch slurry and return to microwave. Heat until the mixture comes to a boil and it thickened. Stir and set aside to cool for a few minutes.

Note: After you add the cornstart it will make the mixture look a little milky. This color should go away when the mixture has been heated through properly.
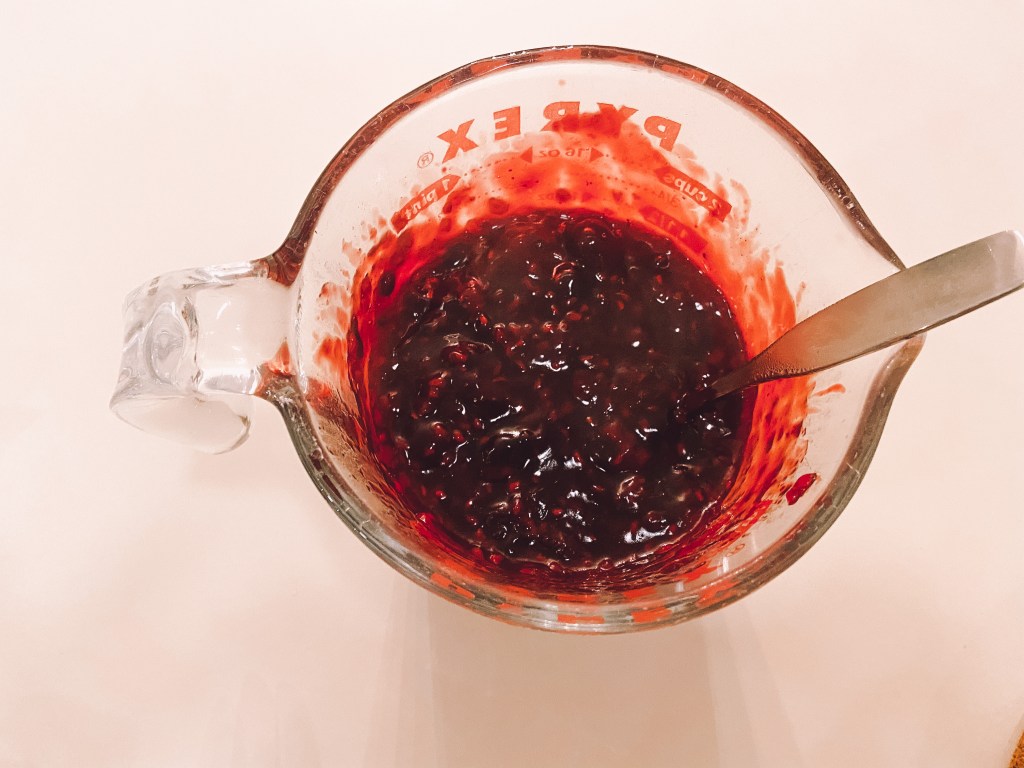
Enjoy over your favorite breakfast item. Left overs can be saved in the fridge. This would also be super yummy added to greek yogurt with some granola on top!

Enjoy!

Poppyseed Muffins – GF/DF

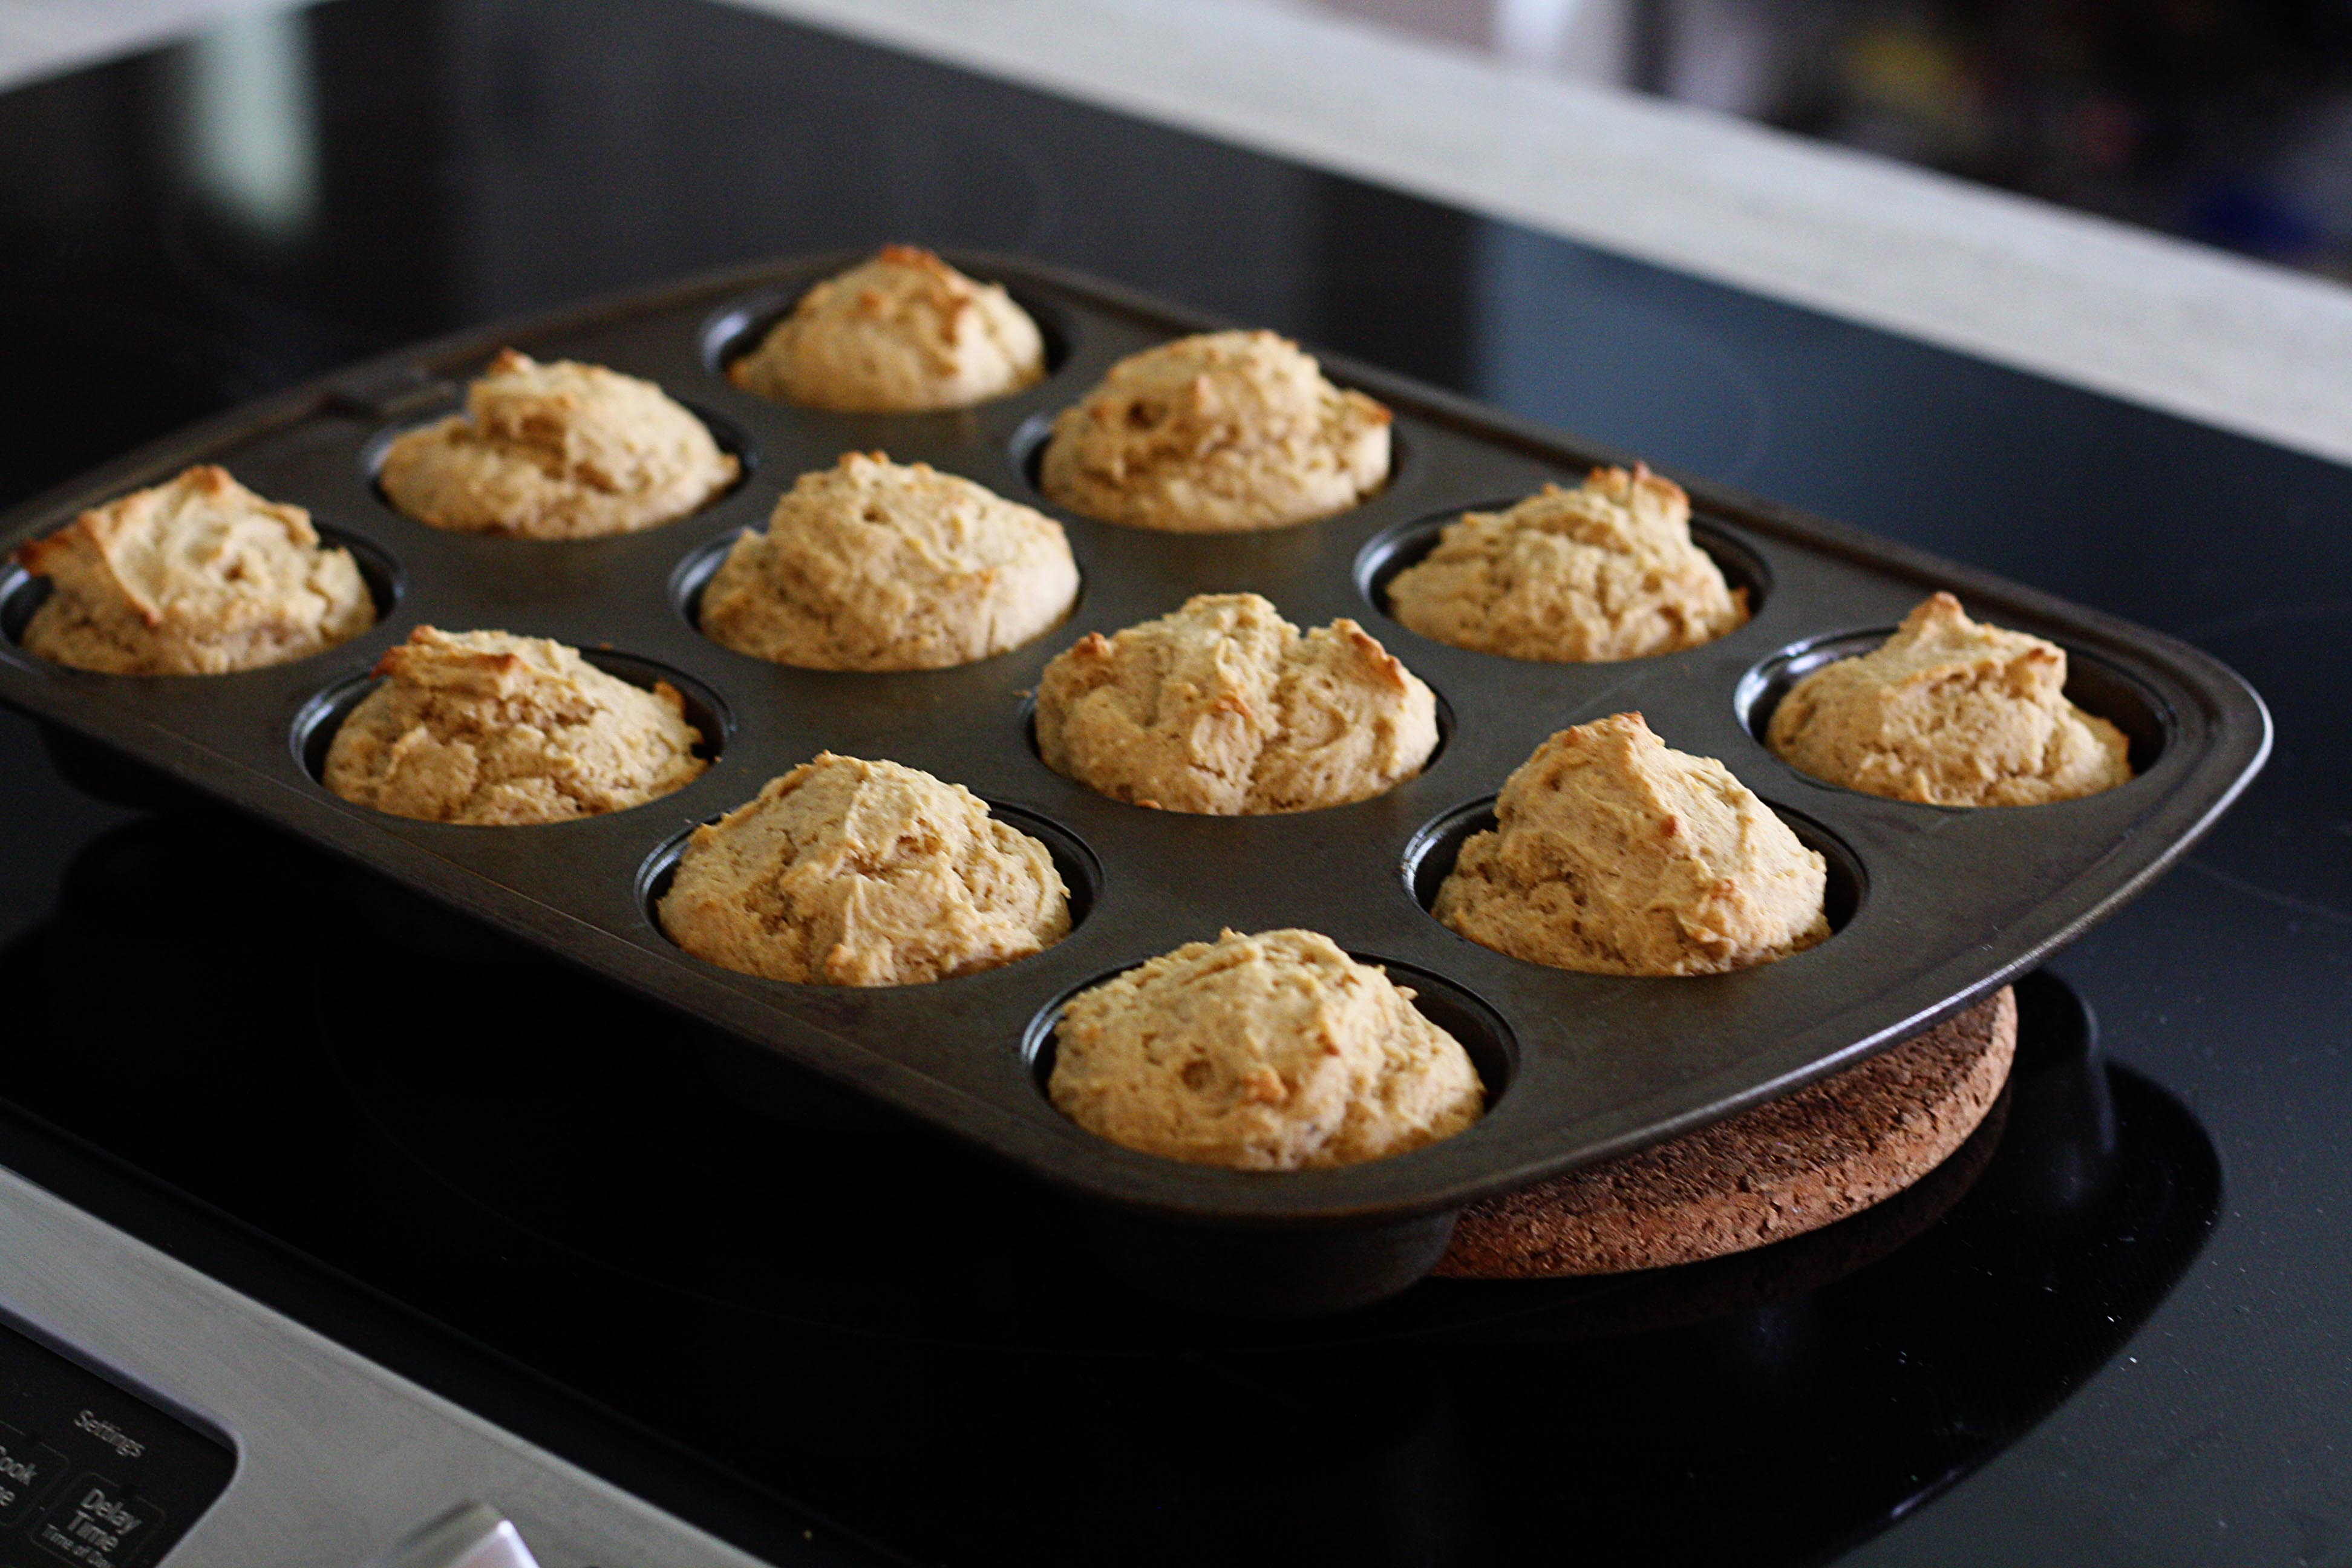
Today I’m going to share the recipe I’ve bee using for several years for some amazing poppyseed muffins. Back before I was GF/DF I LOVED the Costco poppyseed muffins. I didn’t eat them very often because they are a million calories but they were for sure a favorite of mine.

I started making this recipe at home and found that it was really yummy but also not nearly as greasy as the Costco ones. Fast forward a few years, after going gluten and diary free I found that many baked goods you could get in the stores were either super expensive or not great at all. I started modifying the recipes I loved and found that a lot of them were easy to make gluten/diary free. If you aren’t gluten/diary free check out Julias recipe (linked above) it’s a good one!

Wet Ingredients:
2 eggs
3/4 cup sugar
1/4 cup melted butter
1 TBSP – almond extract
1 cup unsweatened almond milk

Dry Ingredients:
1 1/4 cup brown rice flour
1/4 cup + 2 TBSP tapioca starch (this can be subbed for corn starch or arrowroot starch)
1/4 cup + 2 TBSP potato starch
1/2 tsp xanthum gum
1 TBSP poppyseeds
1 Tsp baking powder
1/4 Tsp bakings soda
1/2 Tsp salt

Instructions:
Preheat 350 degrees. Line muffin pan with liners or spray pan with pan spray.

Mix together eggs, sugar, melted butter, milk and almond extract. In a separate bowl mix together all the dry ingredients. Add the dry ingredients to the wet and mix well with a whisk. Distribute the batter into 12 muffin cups. Bake at 350 for 18-22 minutes. Gluten free flour doesn’t usually brown well so don’t base the doneness on the color of the muffins. Prick the center with a toothpick to check for doneness.

Lemon Cream Pie – GF/DF

So first on the blog I want to share one of my all time favorite pie recipes! This is a recipe my mom made when I was growing up and was one of the first dessert recipes I tweaked to be GF/DF. This I’m not sure where it originates from but it’s an absolute favorite in our family and if you prefer, go ahead and make it with all the gluten and diary.

Before going diary free I would top it with homemade whipped cream (SO GOOD). Now I just eat it as is and serve regular whipping cream on the side for all of my diary eating family.

IMG_1121

1 – 10” baked pie crust shell – (Gluten Free Pie Crust) or (Regular)

Filling: 
1 ½ cups sugar
½ cup cornstarch (or arrowroot if you prefer)
1 ½ cups water
1 cup almond milk (coconut or whole milk also works here)

6 egg yolks
2/3 cup lemon juice (fresh if possible)
4 Tbsp. butter or 
margarine
1 ½ tsp. fresh lemon zest

Directions: 
Combine sugar and cornstarch in a medium pot. Add water and milk. Beat egg yolks until light colored and add to mixture. Cook on medium-low heat stirring constantly with a whisk until thickened. Remove from heat then stir in lemon juice, butter and peel. Stir until combined. Pour into cooked pie crust and cool completely.

I leave it on the counter to cool for a bit then put in the fridge to cool completely. I highly recommend sharing this delicious pie with a friend or your family!

I hope you enjoy it as much as we do!

Hello.

Well…It’s been over two years since I’ve blogged. To be honest the whole blogging thing has always been a challenge for me. I’m not good at doing it regularly, writing isn’t my strong suit and I think I’ve felt a little intimidated by the “professional bloggers”.

IMG_1095So I’m hear to tell you I’m back but in a really simple capacity. To share recipes, maybe a little bit of life and whatever else my heart needs to share. My hope is to share gluten & diary free recipes, tips and tricks for living a GF/DF life, and maybe a little about life and family. I’m hoping to post one to two times a month. Even that will likely be a stretch for me.
So lets start with the beginning – Why am I gluten & diary free now? In November 2016 I decided to seek out a naturopath to address some longstanding health issues I had been struggling with. I had GI issues, cystic acne & migraines. At her recommendation she suggested I try going gluten and diary free. Within two to three weeks I saw a huge improvement in my health. I’ve tried re-introducing both items back into my diet a few times and it hasn’t worked. So I’ve dug into figuring out how to bake and cook really yummy food that is gluten & diary free.

Over the years a few people have asked me to share the recipes I use. The thing is, I tend to use “normal” recipes and tweak them to fit my needs. So here I sit. Ready to give this blogging thing a try again. It will be simple. I won’t be fancy,  but I hope it’s a place where people can find a few yummy recipes and some hope that life doesn’t completely suck when you have dietary restrictions.

I hope you’ll stick around for my less then official blog – maybe we can have a little fun together!

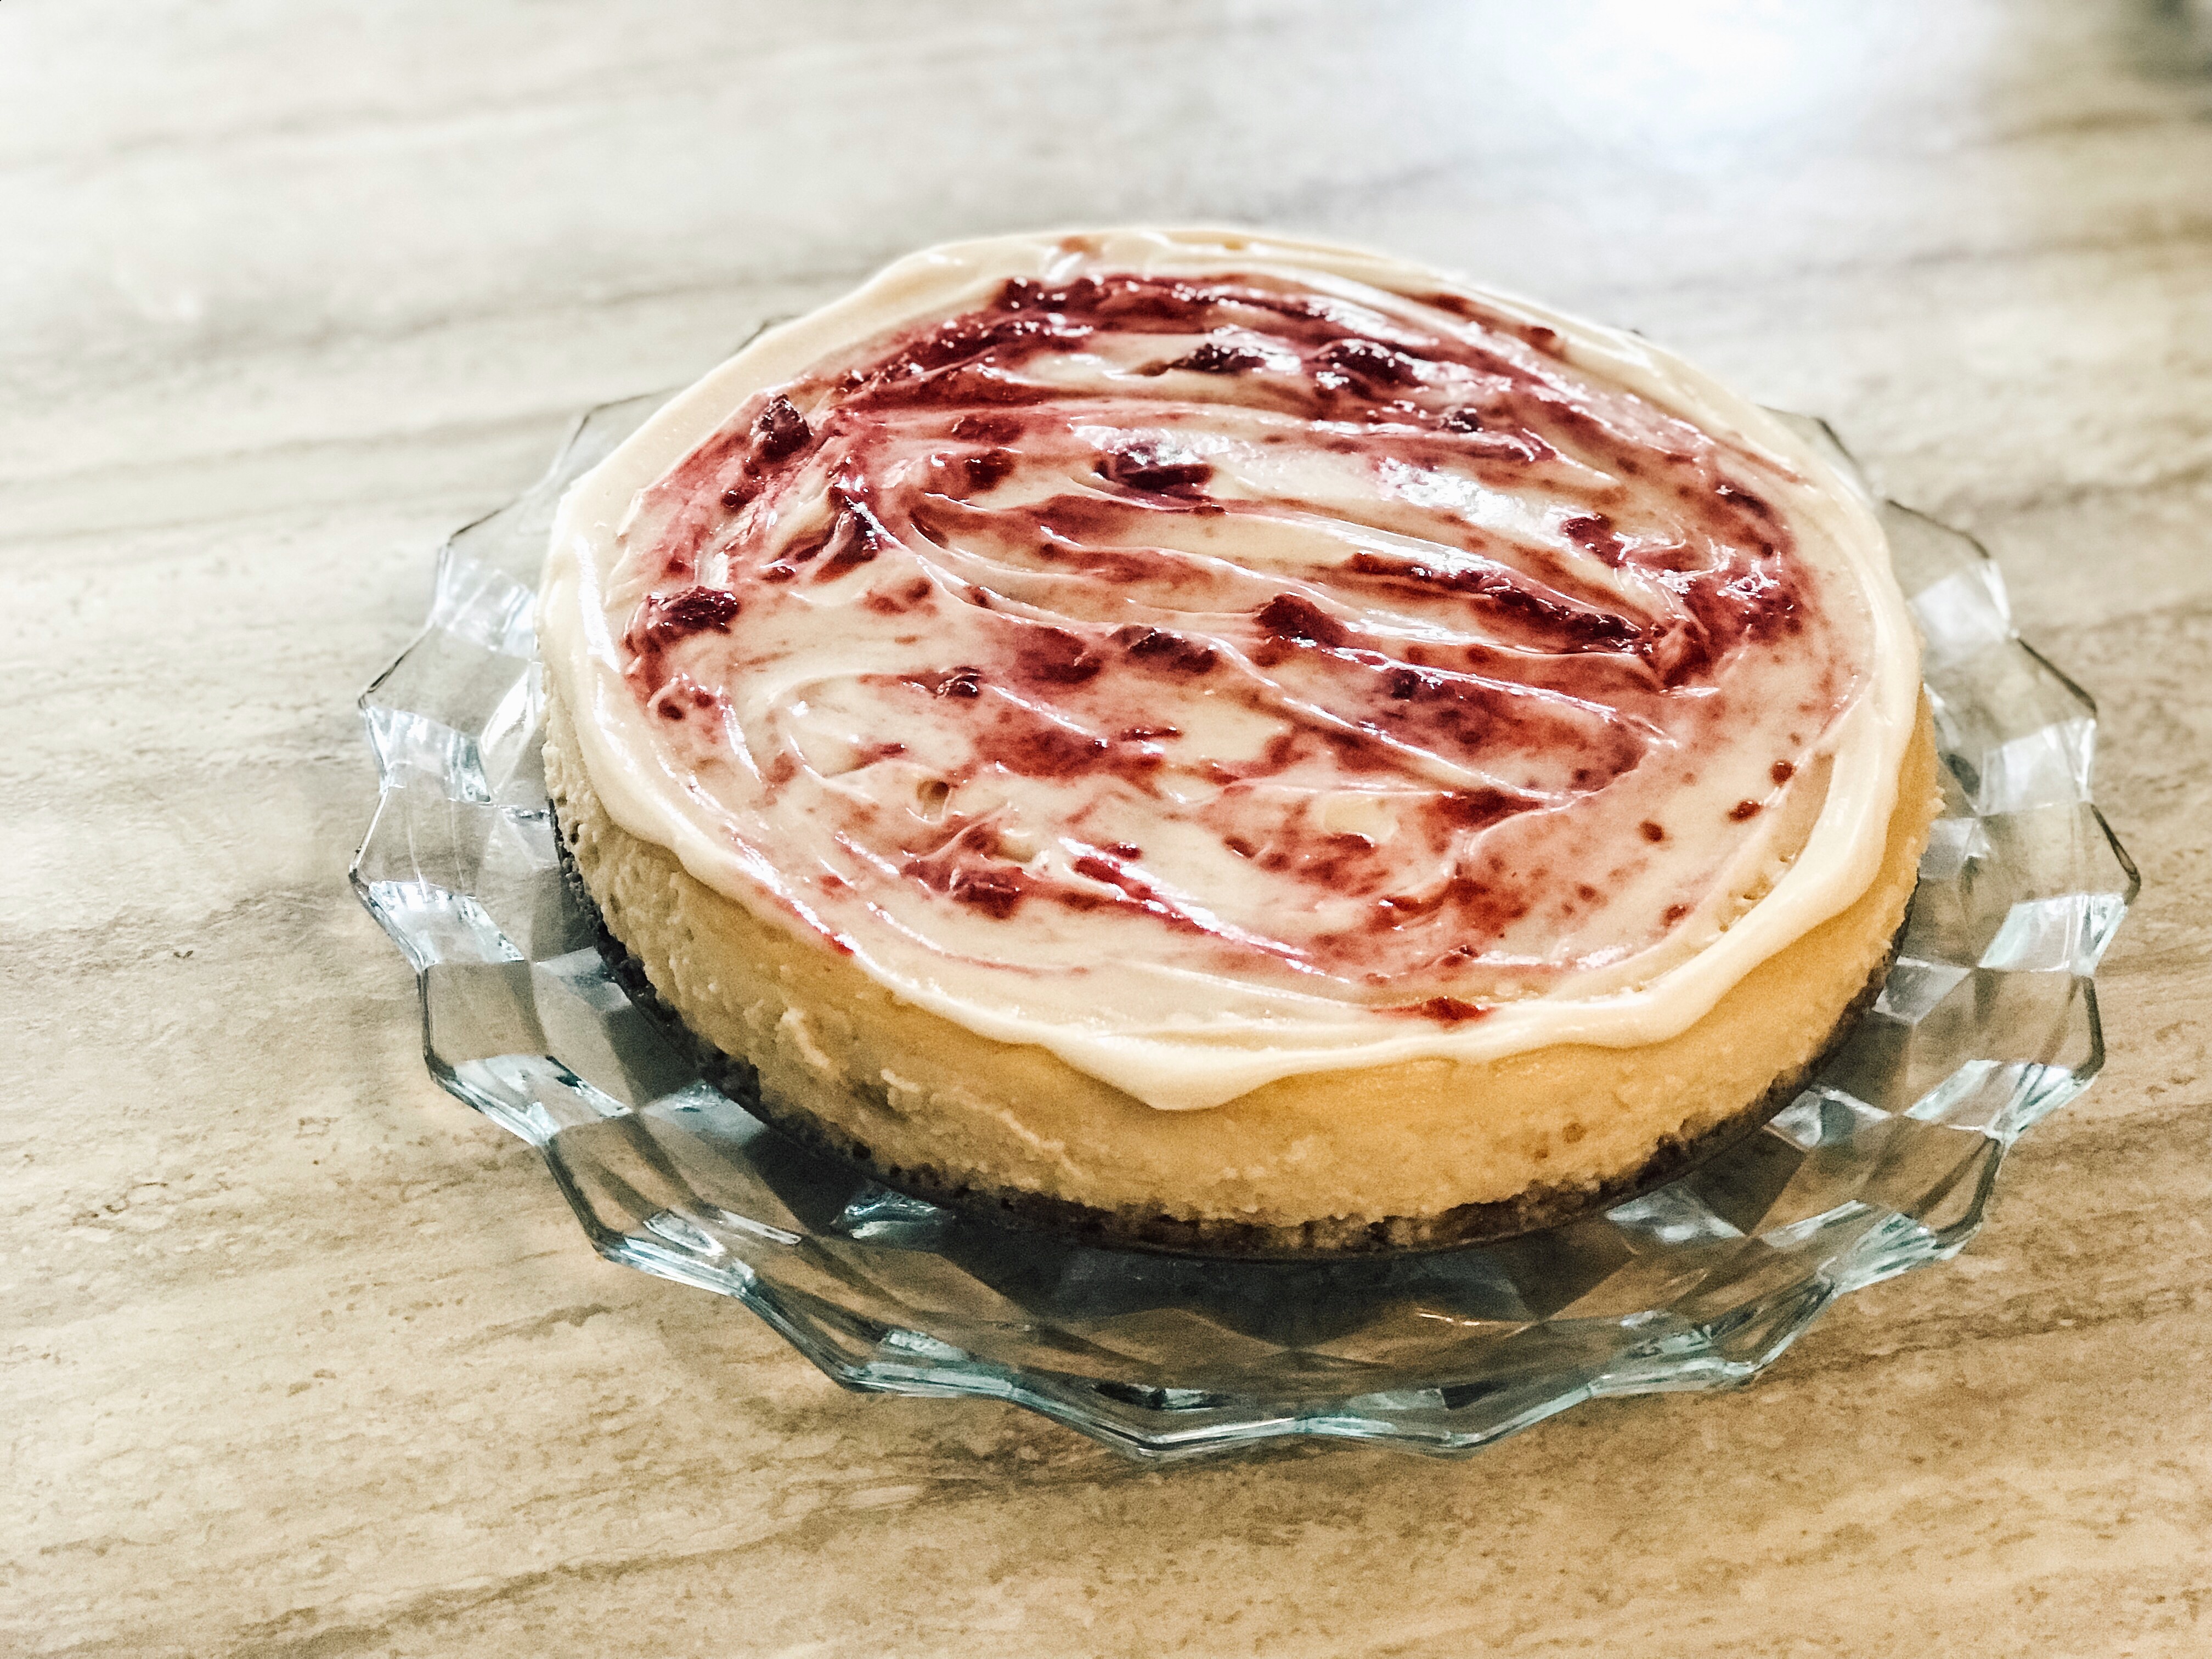
I want to leave you with this pretty photo…the current recipe I’m trying to figure out. A diary free cheesecake. I made this by following a Martha Stewart recipe and making a few tweaks. I need to make it again and tweak a few more things before I post the recipe here. But just look how pretty it is!!

B6D843FA-343E-4165-BC60-84089E2F9B75

Applesauce Cinnamon Muffins – Gluten & Dairy Free

Good Afternoon,

It’s been forever since I’ve shared anything but I wanted start sharing some recipes here and there. In November, per the recommendation of my doctor, I went gluten/diary free to help resolve some health issues.  It’s been an adjustment but it has helped a lot and I’m getting the hang of it!

This week my daughter requested applesauce muffins so I tweaked a traditional recipe (you can find the original here) to be gluten-free. My kids LOVE them and they taste totally normal (texture is spot on, and no weird after taste!) I hope you enjoy them as much as we do!


Ingredients:

  • 2 cups Better Batter GF Flour OR the next 6 ingredients
    – 1 1/4 brown rice flour
    – 1/3 cup potato starch
    – 1/3 cup tapioca starch
    – 1 tsp xanthum gum (
    – 1/2 tsp powdered pectin (like you use when making jam)
    – 1 TBSP instant mashed potatoes
  • 1/2 cup sugar
  • 1 tsp cinnamon
  • 1/4 tsp salt
  • 2 tsp GF baking powder
  • 1/4 cup oil of choice or melted butter
  • 1 1/4 cups applesauce
  • 2 tsp vanilla extract

Instructions:
Pre-heat oven to 375 degrees. Mix all the dry ingredients in a bowl. Mix wet ingredients in a separate bowl. Combine wet/dry ingredients and mix well. Scoop batter into a greased or lined muffin tin. Bake at 375 degrees for 15-17 minutes. Makes 12 muffins.


Ten

Today we celebrate 10 years of marriage. That’s a big deal.

We got married when we were just 21 years old. We were babies. So to say we have changed a lot in the last 10 years is an understatement. But here we are. We have made it through what I would consider to be some of the hardest years. But we are here. We are here only by the grace of God. He is the reason we have made it this far.

 Engagement Photos – 20 years old

We have had our ups and downs but I know that the good times and the bad have shaped us into who we are today. I know life will bring more challanges but we will make it through them together.

Wedding day – July 14, 2006 – 21 years old

 Here are a few pictures from our 10 year trip we took in February. We had the opportunity to build houses with a team of people from our church in Roatan, Honduras. After that portion of the trip was over our church friends left and we enjoyed a few additional days on the island together.

Thanks for begin so patient with me. I am obsessive about things that shouldn’t matter, I am a planner and I am a perfectionist. Thanks you for looking past all the things that are totally opposite of your nature and for loving me anyways!

Marriage is work… really hard work. It’s choosing daily to love. It’s letting the little things go (which is so hard…remember perfectionist). It’s hard but in the end the work pays off. Here’s to many more wonderful years ahead. I can’t wait to see where the next 10 years takes us! Love you babe!

13662364_10154343471749222_2841706610613288724_o
Where we got married – 10 years later

That One Time God Provided All The Things…

Do you ever have things happen in life that are so obviously God?? When those things happen I can’t help but smile. We recently had a few of those experiences and I wanted to share. Towards the end of last year we found out some major changes were happening with our health insurance. Without going into all the details we found out that our premiums would be going up by about $500 per month. When you live on one income a hit like that will stop you dead in your tracks. I freaked…shed a bunch of tears and then slowly gave up on trying to fix it and decided to let God work it out. During this time I started looking for a job. I wasn’t exactly sure if that’s what God had for us but I figured doors would either open or close. I had been a stay at home mom for the last 4 years but I felt like I should at least try looking. I applied for several jobs and nothing came of them. Almost all of them were rejected by computerized systems. One day in December I got a call from one of the hospitals I had applied to. I went through several interviews and ended up accepting a per diem position. It was the perfect fit for our family.

The first couple months of the year were tight, but we had money in savings and we were grateful for that. We knew we would be getting our tax return so we thought we would be able to replenish our savings quickly. One day in February I noticed a couple discolored spots on the living room ceiling. Our contractor friend was coming over to bid a job for us so I asked him to take a look. He found multiple leaks. My heart sank. We had really wanted to replace all the windows in our house but this was obviously a higher priority (we live in the Seattle area….SO MUCH RAIN!!). Just hours before we found out we had an issue with the roof I filed our taxes. The return was more than we usually get so we were really excited. We made plans for that money but God had other plans.

IMG_8975After getting several bids we were able to get our roof completely replaced for almost the exact amount of our tax return!! And by a company that came with great reviews! Say WHAT??? God is so good! We were living on one income, and while our budget was/is tight we have never missed a bill. Through it all we continued to tithe, He provided the perfect job, and we were able to PAY CASH for a full new roof! So many details to work out and he did it. He was and is providing for us left and right!! No doubt about it!  So my point…it’s not always easy to trust God. We all have those moments where we think we can fix things…but it has been made clear to me time and time again that the better option is walking through life with God.


Beauty In Biscuits

The other night I was working on dinner, making biscuits and I got wrapped up in my thoughts a little. I was thinking about how fast paced our culture is. So many people don’t sit and have dinner together anymore. Everyone is going a different direction, school, work, sports, birthday parties etc. None of those things are bad but for some reason they have all become more important than quality time with our family each night.

IMG_8647

As I stood at my kitchen counter making my biscuit dough I was thinking about the time & energy poured into my meals each night. I’m going to be honest, I’m not really a fan of cooking. My mom taught me how to cook but it just feels like such a chore each day. The other night I had a moment where I realized that I get to provide these wonderful meals for my family. We get to eat our dinner together each night.

IMG_8645_edited-1

The generations before us didn’t have much choice but to cook. We are now surrounded by fast food, processed foods and so many quick options that a home cooked meal and eating dinner together seems to be fading away. If you feel like you don’t have time to sit down together take a look at your schedule and see if there is anything you can eliminate. We eat dinner together almost every night. I guard that time fiercely. I know that nightly meals together aren’t possible for every family but I bet you could eat together once or twice a week.  Make some soup, biscuits and a salad, and call it good.
Acts246_edited-1Don’t let dinner become just a chore as I had done; make it about quality time together. Dinner doesn’t have to take along time, but make that time around the dinner table count.

If you need a starting point here are a couple of our families favorite soups:
Sausage, Potato & Spinach Soup (this website has tons of great recipes!)
Creamy Chicken & Wild Rice Soup
Cauliflower Chowder

My mother-in-laws biscuit recipe is super yummy & I hope you enjoy it!

IMG_8642_edited-1

Ingredients:
3 cups flour
2 tbsp sugar
4 tsp baking powder
1 tsp salt
1 tsp baking soda
3/4 cup soft butter (1 1/2 sticks of butter)1 cup buttermilk*

Instructions:
Pre-heat oven to 425 degrees. Mix together all the dry ingredients. Work soft butter into the flour mixture using a pastry cutter (here is a how to video) until it’s roughly pea sized. Then add in the buttermilk and mix together until dough is formed. Turn onto a floured surface and cut out biscuits. Place on a non-stick baking sheet and bake for 10-12 minutes or until slightly  brown.

*if you do not have buttermilk you can make sour milk by mixing 1/2 Tbsp lemon juice or vinegar with regular milk. Let it sit for 5-10 minutes before using.

Don’t let the quality time around the table slip away!
Signature_edited-1

My Beach Trip Must Haves!

So it’s that time of the year…spring break, vacations, and that need to explore. I’m not sure about you but I just love to travel anywhere that’s warmer then where I live. In the Pacific Northwest our winters are very depressing! Rain, rain and more rain! My husband and I are gearing up for another trip to Roatan, Honduras in a few weeks. This time we are building a house and then staying on for additional vacation time. July 2016 is our 10 year wedding anniversary so we are going to celebrate a little early on this amazing island!

I had the opportunity to partner with Home Away for this post to share my favorite beach must haves! These are just a few of my favorite items to bring along to the beach.

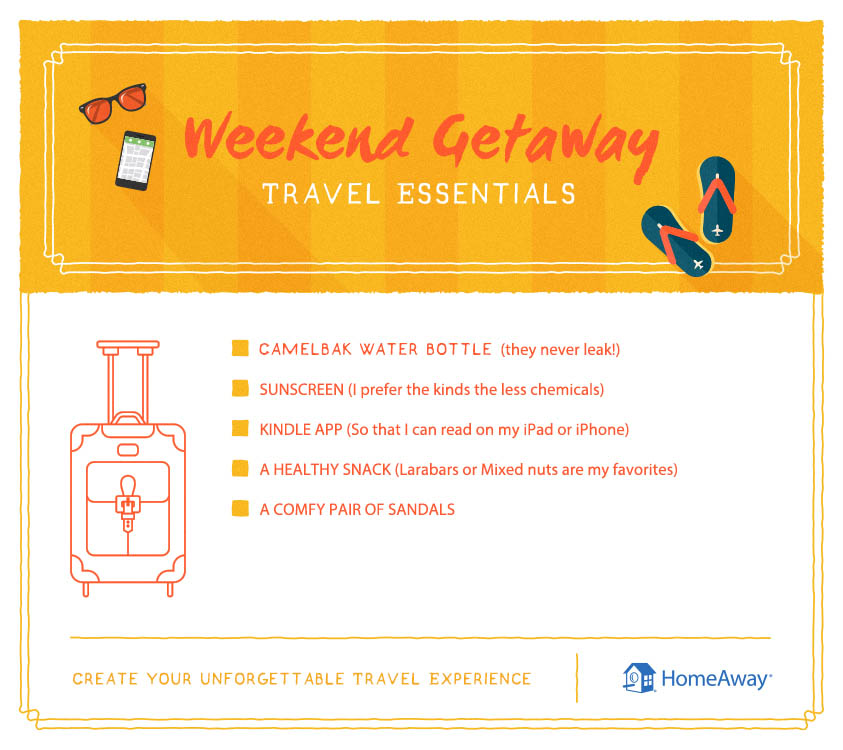
HA Getaway.jpg

  1. CAMELBAK Water Bottel:
    I’ve had great luck with these water bottles! They are a favorite in our family we all have our own! We currently have the plastic ones but I’m hoping to get a glass one soon!
  2. Sunscreen:
    I know your mom probably told you over and over to wear sunscreen but seriously WEAR SUNSCREEN!!! I know a tan is nice but protect yourself! You can still get a little color when you wear sunscreen! Last summer we transitioned to sunscreen with less chemicals. Alba has been my go to lately.
  3. Kindle App:
    I love my Kindle App on my phone and my iPad. The app is free and makes reading books so easy! Also I’m not sure if all libraries do it but our local library links up to a website call Over Drive and you can check out eBooks for free! They download right to your Kindle app! I love to lay on the beach and read while I relax in the sun!
  4. Healthy Snacks:
    I like to bring a healthy snack with me to the beach. My go to bars are Lara Bars and also some mixed nuts.
  5. A comfy pair of sandals:
    I love my Sanuk sandals! If you haven’t tried them they are so amazing! I have the yoga sling style. I wore them for 4 days at Disneyland a couple years ago and my feet were happy the whole time! They are amazing! The Yoga Slings aren’t good for water so I want to try out another style that can be worn around water.

I’m getting so excited to bless a family with a new house but also to enjoy the sunshine and the sand! What are your favorite items to take with you to the beach?

If you guys are looking for a get away check out check out some of HomeAway’s most popular rentals here. We have booked a couple vacation rentals through their site including our recent get away to Leavenworth. Check them out next time you are planning a vacation or getaway. You won’t be disappointed!

Signature_edited-1


Roasted Green Beans

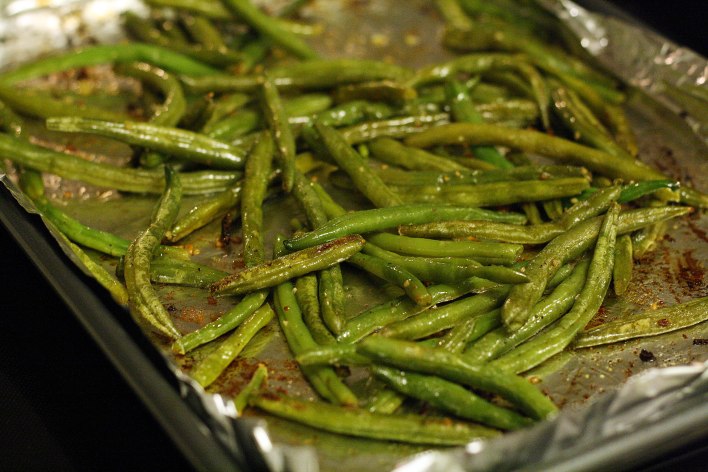
Today it dawned on me that not everyone roasts their veggies. In our house it’s the main way I cook almost all of our veggies. We grow  green beans our garden every summer and they are a favorite in our house. I’ve always known we could roast fresh ones but I recently tried roasting frozen beans and they turned out great! I prefer to eat fresh veggies when we can but it’s nice to have a couple frozen things on hand as well so these are a great way to cook up frozen green beans! I hope you enjoy these as much as we do!

IMG_4488_edited-1

IMG_4468_edited-1

IMG_4474_edited-1

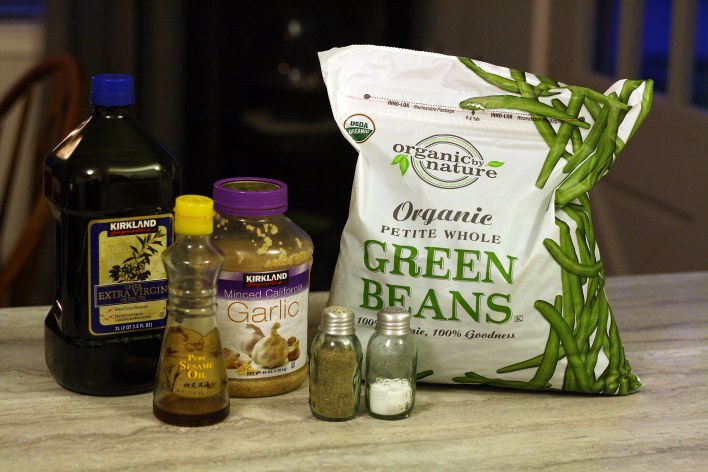
Ingredients:
3 cups of frozen green beans
1 teaspoon sesame oil (optional but so yummy!)
1 tablespoon olive oil
1.5 teaspoons minced garlic
Salt & Pepper to taste

Directions:

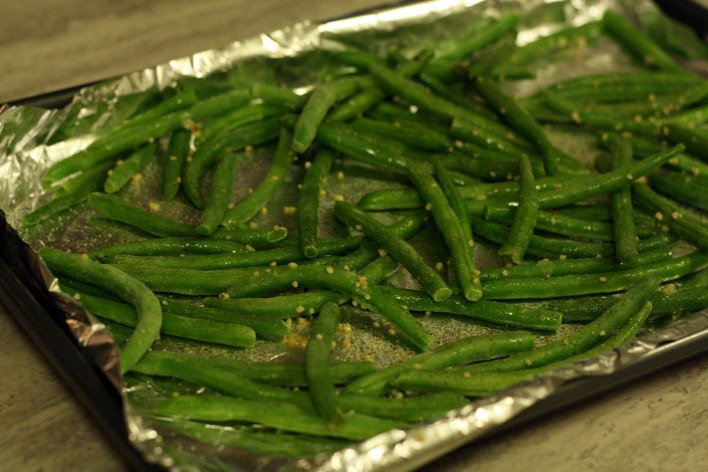
Preheat oven to 450 degrees. Line cookie sheet with foil. Put the frozen green beans on the cookie sheet pour the oils and remaining ingredients on top of the green beans and toss until they are all fully coated.  Bake for 15-17 minutes or until slightly crispy & brown.

Tips:
Buy your green beans at Costco! they are cheap, delicious and organic!

One of our favorite veggies to roast is broccoli. If you have never roasted broccoli before check out this recipe it is AMAZING!!