Poppyseed Muffins – GF/DF

Today I’m going to share the recipe I’ve bee using for several years for some amazing poppyseed muffins. Back before I was GF/DF I LOVED the Costco poppyseed muffins. I didn’t eat them very often because they are a million calories but they were for sure a favorite of mine.

I started making this recipe at home and found that it was really yummy but also not nearly as greasy as the Costco ones. Fast forward a few years, after going gluten and diary free I found that many baked goods you could get in the stores were either super expensive or not great at all. I started modifying the recipes I loved and found that a lot of them were easy to make gluten/diary free. If you aren’t gluten/diary free check out Julias recipe (linked above) it’s a good one!

Wet Ingredients:
2 eggs
3/4 cup sugar
1/4 cup melted butter
1 TBSP – almond extract
1 cup unsweatened almond milk

Dry Ingredients:
1 1/4 cup brown rice flour
1/4 cup + 2 TBSP tapioca starch (this can be subbed for corn starch or arrowroot starch)
1/4 cup + 2 TBSP potato starch
1/2 tsp xanthum gum
1 TBSP poppyseeds
1 Tsp baking powder
1/4 Tsp bakings soda
1/2 Tsp salt

Instructions:
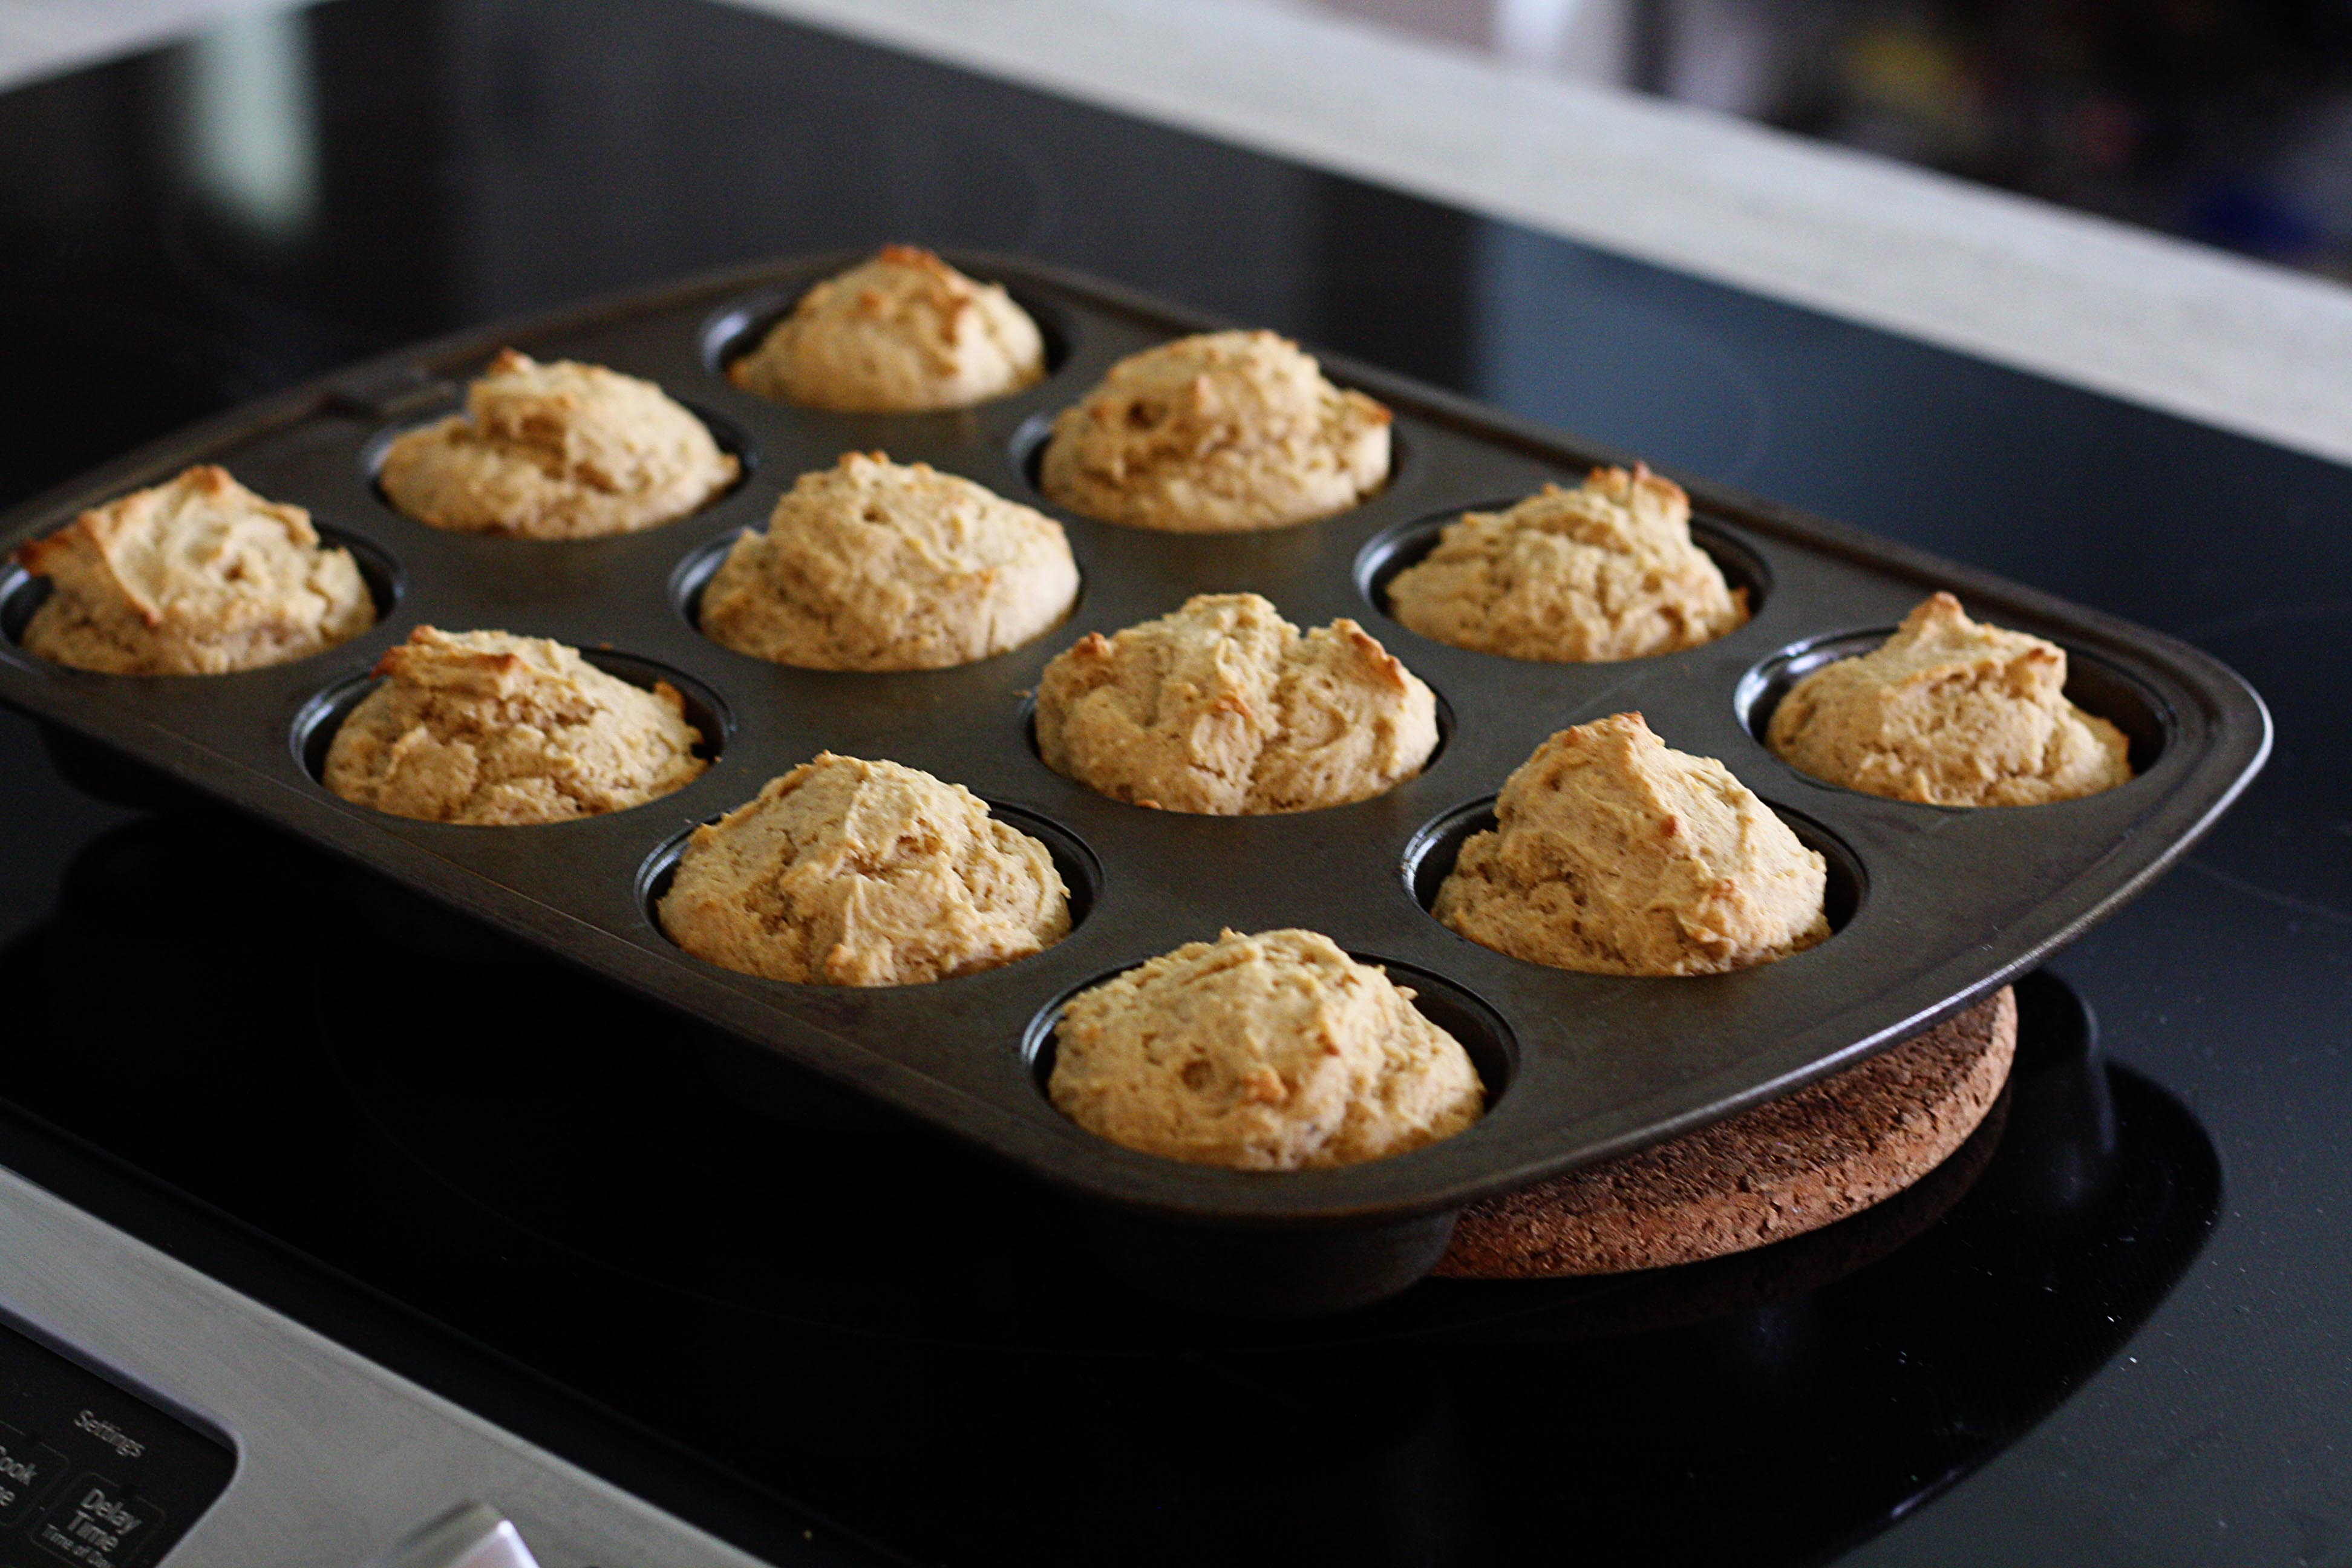
Preheat 350 degrees. Line muffin pan with liners or spray pan with pan spray.

Mix together eggs, sugar, melted butter, milk and almond extract. In a separate bowl mix together all the dry ingredients. Add the dry ingredients to the wet and mix well with a whisk. Distribute the batter into 12 muffin cups. Bake at 350 for 18-22 minutes. Gluten free flour doesn’t usually brown well so don’t base the doneness on the color of the muffins. Prick the center with a toothpick to check for doneness.

Lemon Cream Pie – GF/DF

So first on the blog I want to share one of my all time favorite pie recipes! This is a recipe my mom made when I was growing up and was one of the first dessert recipes I tweaked to be GF/DF. This I’m not sure where it originates from but it’s an absolute favorite in our family and if you prefer, go ahead and make it with all the gluten and diary.

Before going diary free I would top it with homemade whipped cream (SO GOOD). Now I just eat it as is and serve regular whipping cream on the side for all of my diary eating family.

IMG_1121

1 – 10” baked pie crust shell – (Gluten Free Pie Crust) or (Regular)

Filling: 
1 ½ cups sugar
½ cup cornstarch (or arrowroot if you prefer)
1 ½ cups water
1 cup almond milk (coconut or whole milk also works here)

6 egg yolks
2/3 cup lemon juice (fresh if possible)
4 Tbsp. butter or 
margarine
1 ½ tsp. fresh lemon zest

Directions: 
Combine sugar and cornstarch in a medium pot. Add water and milk. Beat egg yolks until light colored and add to mixture. Cook on medium-low heat stirring constantly with a whisk until thickened. Remove from heat then stir in lemon juice, butter and peel. Stir until combined. Pour into cooked pie crust and cool completely.

I leave it on the counter to cool for a bit then put in the fridge to cool completely. I highly recommend sharing this delicious pie with a friend or your family!

I hope you enjoy it as much as we do!

Applesauce Cinnamon Muffins – Gluten & Dairy Free

Good Afternoon,

It’s been forever since I’ve shared anything but I wanted start sharing some recipes here and there. In November, per the recommendation of my doctor, I went gluten/diary free to help resolve some health issues.  It’s been an adjustment but it has helped a lot and I’m getting the hang of it!

This week my daughter requested applesauce muffins so I tweaked a traditional recipe (you can find the original here) to be gluten-free. My kids LOVE them and they taste totally normal (texture is spot on, and no weird after taste!) I hope you enjoy them as much as we do!


Ingredients:

  • 2 cups Better Batter GF Flour OR the next 6 ingredients
    – 1 1/4 brown rice flour
    – 1/3 cup potato starch
    – 1/3 cup tapioca starch
    – 1 tsp xanthum gum (
    – 1/2 tsp powdered pectin (like you use when making jam)
    – 1 TBSP instant mashed potatoes
  • 1/2 cup sugar
  • 1 tsp cinnamon
  • 1/4 tsp salt
  • 2 tsp GF baking powder
  • 1/4 cup oil of choice or melted butter
  • 1 1/4 cups applesauce
  • 2 tsp vanilla extract

Instructions:
Pre-heat oven to 375 degrees. Mix all the dry ingredients in a bowl. Mix wet ingredients in a separate bowl. Combine wet/dry ingredients and mix well. Scoop batter into a greased or lined muffin tin. Bake at 375 degrees for 15-17 minutes. Makes 12 muffins.


Beauty In Biscuits

The other night I was working on dinner, making biscuits and I got wrapped up in my thoughts a little. I was thinking about how fast paced our culture is. So many people don’t sit and have dinner together anymore. Everyone is going a different direction, school, work, sports, birthday parties etc. None of those things are bad but for some reason they have all become more important than quality time with our family each night.

IMG_8647

As I stood at my kitchen counter making my biscuit dough I was thinking about the time & energy poured into my meals each night. I’m going to be honest, I’m not really a fan of cooking. My mom taught me how to cook but it just feels like such a chore each day. The other night I had a moment where I realized that I get to provide these wonderful meals for my family. We get to eat our dinner together each night.

IMG_8645_edited-1

The generations before us didn’t have much choice but to cook. We are now surrounded by fast food, processed foods and so many quick options that a home cooked meal and eating dinner together seems to be fading away. If you feel like you don’t have time to sit down together take a look at your schedule and see if there is anything you can eliminate. We eat dinner together almost every night. I guard that time fiercely. I know that nightly meals together aren’t possible for every family but I bet you could eat together once or twice a week.  Make some soup, biscuits and a salad, and call it good.
Acts246_edited-1Don’t let dinner become just a chore as I had done; make it about quality time together. Dinner doesn’t have to take along time, but make that time around the dinner table count.

If you need a starting point here are a couple of our families favorite soups:
Sausage, Potato & Spinach Soup (this website has tons of great recipes!)
Creamy Chicken & Wild Rice Soup
Cauliflower Chowder

My mother-in-laws biscuit recipe is super yummy & I hope you enjoy it!

IMG_8642_edited-1

Ingredients:
3 cups flour
2 tbsp sugar
4 tsp baking powder
1 tsp salt
1 tsp baking soda
3/4 cup soft butter (1 1/2 sticks of butter)1 cup buttermilk*

Instructions:
Pre-heat oven to 425 degrees. Mix together all the dry ingredients. Work soft butter into the flour mixture using a pastry cutter (here is a how to video) until it’s roughly pea sized. Then add in the buttermilk and mix together until dough is formed. Turn onto a floured surface and cut out biscuits. Place on a non-stick baking sheet and bake for 10-12 minutes or until slightly  brown.

*if you do not have buttermilk you can make sour milk by mixing 1/2 Tbsp lemon juice or vinegar with regular milk. Let it sit for 5-10 minutes before using.

Don’t let the quality time around the table slip away!
Signature_edited-1

My Perfect Potato Bread

Over the last couple years I have been making all of our bread in my bread machine. When I was a kid my mom did this and I hated it. I wanted store bought white bread (which was totally off limits – and now I know why). I make our bread for a few reasons….It’s cheaper, healthier and yummy! I’ve been perfecting our recipe for the last year and this has become our go to sandwich bread.
IMG_3268_edited-1
I started with a recipe called Linda’s Easy Potato Bread from the book “Bread Machine Magic“. This book is great and has a lot of yummy recipes! It has options for small, medium and large recipe so it’s great for any size machine! I tweaked the recipe to work for us.

Ingredients:

1 cup water
1 cup milk
3 TBSP Olive Oil
3 cups bread flour
1 cup white whole wheat
2 TBSP Honey
2 tsp salt
2 tsp yeast
5 TBSP potato flakes

Follow the directions for your bread machine (mine is liquids first, then dry ingredients on top) and bake.

Tips:
Let the bread cool completely before cutting.

If you are planning to make homemade bread on a regular basis I would recommend buying an electric bread knife. I found one at a thrift store for $7 and it’s worth every penny. It allows us to cut the bread much easier than using a normal bread knife.

If you aren’t eating your bread up quick it will mold. Homemade bread doesn’t contain all the preservatives like the store bread do. You can cut the loaf in half, wrap half in plastic wrap then place it in a freezer bag and freeze. We try to eat the bread within a week so it doesn’t dry out.

I hope you enjoy this yummy bread!

Gluten Free PF Chang’s Inspired Fried Green Beans

Hey friends! Just wanted to share a quick recipe for some gluten-free fried green beans that I made last night. My inspiration was the fried green beans that are served at PF Chang’s. Most fried dishes aren’t GF but I was hoping I could create something yummy! Well last night we were going to a NYE party and I knew there were going to be a couple of people that were GF. I looked on Pinterest and I didn’t find any recipes. So I looked at a couple of recipes with normal flour and then just winged it. And they turned out amazing! I hope you enjoy!

IMG_2286_edited-1
Ingredients:

4 cups Green Beans – Frozen or Fresh (I used frozen and let them partially thaw)Oil for frying

Batter:
1 cup almond flour (or you could sub out GF flour)
1/4 cup arrowroot powder
1 tsp baking powder (make sure it’s GF)
1 tsp salt
1/4 tsp pepper
1 tbsp paprika
1/2 tsp garlic powder
1 egg
Milk

Dipping sauce:
3 Tbsp Milk
1/3 cup Mayo
2 Tbsp Siracha

I spread out the beans in a 9×13 pan and let them defrost about half way. You could just microwave them for a couple of minutes to speed up the process. I whisked all the ingredients together for the batter. I poured the milk in until it was the consistency of pancake batter. Maybe 1/2-3/4 cups. Once the batter was all ready to go I poured it over the beans and made sure they were all coated well.
IMG_2285_edited-1Then once my oil was hot I fried them in batches for about 3 minutes on each side (or until golden brown). I think it took about 5 batches to get them all done.
IMG_2282_edited-1 I served them with a creamy Siracha sauce. They were a hit! I have several friends that are gluten-free so I love having options. I hope you enjoy this recipe as much as we did! And feel free to tweak it to your taste.

Freezing Biscuit Dough

So today I’m talking biscuits! Random I know, but I’m headed to Honduras in 2 weeks so today I made a few meals and other items to put in the freezer for my husband to make when I’m gone. I saw this somewhere on Pinterest and decided to try freezing my own biscuit dough a couple of months ago. It worked great so I’m doing it again! My mother in law gave me a yummy recipe so I’m going to share it with you. I’m sure this would work with other recipes so if you have one you love, make it then follow the freezing instructions.

IMG_9465_edited-1   Ingredients:

  • 3 cups flour
  • 2 tbsp sugar
  • 4 tsp baking powder
  • 1 tsp baking soda
  • 1 tsp salt
  • 3/4 cups unsalted butter – softened (1 1/2 sticks of butter)
  • 1 cup buttermilk or you can substitute “sour” milk (1 tbsp vinegar or lemon juice add milk to equal one cup of liquid. Let sit on counter for 5 minutes before using)Mix all dry ingredients together. Work in the butter with a pastry cutter. Once the butter is incorporated well, pour in your milk and mix together. Knead dough on the counter then cut biscuits. If you are going to eat them right away heat your oven to 425 degrees and bake for 10-12 minutes or until golden brown.

    IMG_9454_edited-1Freezing instructions:
    IMG_9461_edited-1Line baking sheet with freezer or wax paper. Cut biscuits and place on the paper. Make sure they aren’t touching. Flash freeze them on the baking sheet for one hour. This will help them not stick together when you place them in the bag. After the hour is up place them in a freezer bag.
    IMG_9465_edited-1To bake after they are frozen, let then thaw at least partially or place them on a plate and microwave them for 10-15 seconds or until they are slightly soft. Then bake at 425 for 10-12 minutes.

    I love doing this because it’s a better option than grabbing a container of Pillsbury biscuits. We don’t eat very much processed food so it’s nice to have a few things ready to go for those nights that you don’t want to do all of the prep!

Honey Nut Granola Recipe

A couple of weeks ago I decided to make some granola. I’m not really a cereal girl but I do love granola! I had been craving it but didn’t want to pay the high prices at the store. I’m not sure why but granola tends to be pretty expensive. So I when on Pinterest and found a recipe to try. You can check the original recipe here. I decided to tweak it to what I like and what I generally have on hand.

When it comes to granola I like to keep it simple. I hope you enjoy my recipe!
IMG_9329_edited-2Ingredients:
2 cups oats
1/2 cup shredded coconut
1/3 cup chopped almonds (or other nuts)
2/3 cup honey mixed with 2 tsp hot water
3 Tbsp olive oil

Directions:
Pre-heat oven to 250 degrees.

Mix dry ingredients together. Add in the honey/water mixture and stir well. Once the dry ingredients are coated well with the honey add in the olive oil. Mix well.

Spread out evenly on a cookie sheet that is lined with parchment paper. You will bake the granola for 1 hour stirring every 20 minutes or so to make sure it browns evenly. After the hour let cool (the granola will get even crunchier after it cools). Store in an airtight container.

This thing about granola is that you can tweak it to whatever you love. Try adding different nuts, sesame seeds, raisins or other dried fruit.

Enjoy!

Tiny’s Organic Produce…They Deliver!!

So today I got my first box of produce from Tiny’s Organic delivered to my house! I ordered from them because my friend recommended them and they have a delivery option. Here in Seattle we have a lot of options for produce but a lot of them require me to pick it up. Let’s be honest trying to pick up a bunch of produce with two small kids is just not super practical so I was okay with paying a little more for delivery.

I ordered a “small farm box of fruits and vegetables” from Tiny’s. It was $25 and that included the delivery fee. I ordered mine on a Tuesday and they delivered it on Friday. From what I can tell they do deliveries on Tuesday and Friday.

My daughter and I were really excited to see what was in the box. She requested this picture…and then immediately ate an orange!! They don’t tell you ahead of time what will be in our box…this could be a good or bad thing…I’m hoping it makes me try new things (like the kale!!).

photo (2)_edited-1My box contained the following items:

  • One bunch of kale raab (not sure what to do with it…hmm)
  • One bunch of cilantro
  • A Lg head of romaine lettuce
  • 4 Lg carrots
  • 2 russet potatoes
  • 1 sweet potatoes
  • 1 yellow onion
  • 1 red onion
  • 1 Lg avocado
  • 3 satsumas
  • 6 assorted apples

I felt like this was a good amount of produce and the quality was great! Everything looks really nice. I ate an apple with my lunch and it was really yummy! I also cooked the sweet potato for Bry and he ate it right up! This box is meant to feed 2 people -I think- not a family but I still feel like it was a good amount of food.

I will likely order from them again – but I’m also thinking of trying out some other companies as well! I’ve heard a lot of good things about Bountiful Baskets but they don’t deliver so next up I think I will try out Full Circle – I’d like to compare a few companies and see which one I like the best!

If you have a yummy kale raab recipe I’d love to hear about it!!

Baked Mac & Cheese

Hey Everyone – I thought I’d share what I made for a couple of weeks ago! It’s a super easy baked mac and cheese. I first had this recipe at my friend Melissa’s house. I was shocked when she told me it had cottage cheese in it. It seems weird but I promise it’s super yummy! Trust me!

photo (2)

Ingredients:

  • 1/2 lb macaroni noodles (I was out of macaroni noodles so I used whole wheat penne)
  • 1 C. Cottage cheese
  • 1 C. Sour cream (I prefer Daisy brand – it doesn’t have a bunch of additives)
  • 1 Egg
  • 1 1/2 C. Shredded cheddar cheese, divided
  • A pinch of nutmeg
  • Salt & Pepper to taste

Directions:

Pre-heat your oven to 350 degrees. Lightly grease a 9×9 Square pan or something similar in size.

Cook noodles until al dente, drain well. Meanwhile in a large bowl combine, sour cream, cottage cheese, egg, salt, pepper, nutmeg & 1/2 the cheese. Add the well-drained noodles to the cheese mixture and mix well. Transfer to prepared baking dish and top with remaining cheese. Bake for 45 minutes or until the top is golden brown. Let rest 10 minutes before serving.

Enjoy!