Baby Food Making & Reusable Baby Food Pouch

Let’s talk about making baby food…I started making baby food when my daughter Taylin was a baby. I had never thought about it but our pediatrician mentioned it and told me to check out the website wholesomebabyfood.com. I thought I’d give it a try and now I’m hooked! Now I’m making food for my 8 month old son and what he likes is totally different from what his sister liked. He tends to like the veggies more then the fruits (weird right??). Also he doesn’t have as many teeth so I’m still really pureeing things.

Today I made two different kinds of baby food so I’m going to share the step by step process I followed. I used a food processor but you can use a blender, Magic Bullet, or baby food making appliances.

Blueberries, Banana & Yogurt

Ingredients:

1 cup frozen or fresh blueberries
1 large banana
1/3 cup plain yogurtIMG_3598IMG_3599
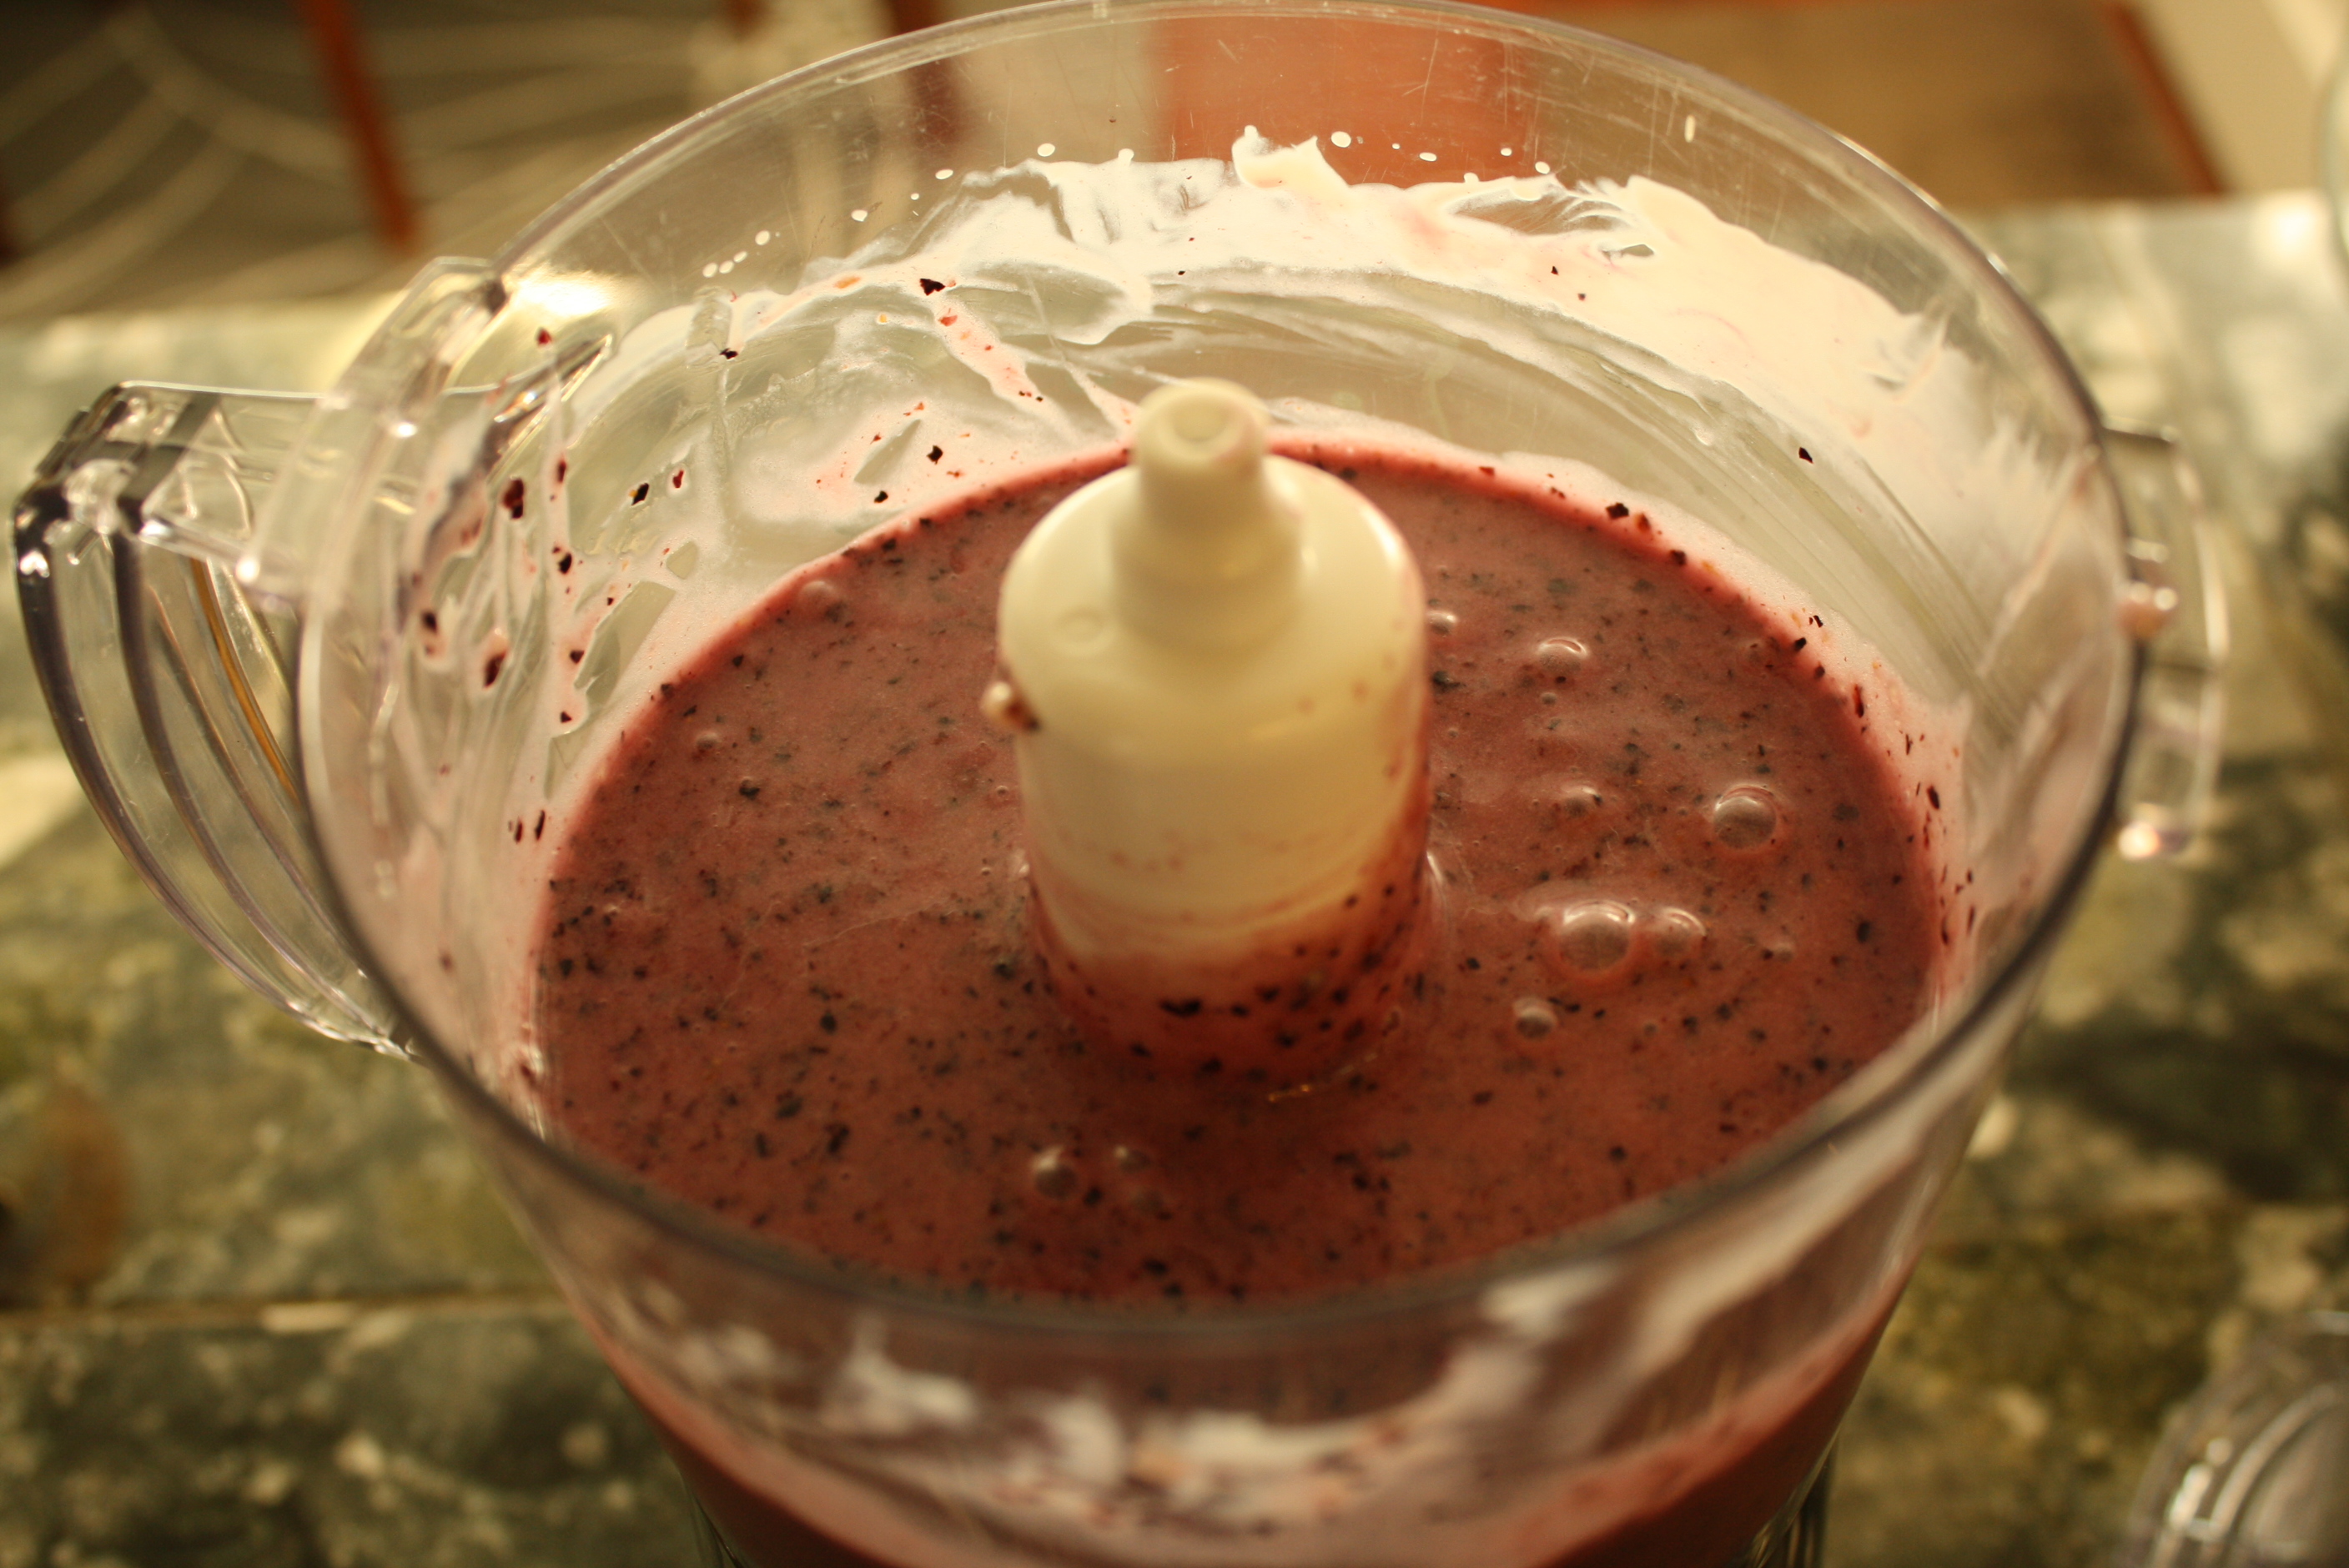
Puree everything until it’s really smooth – Once I think it’s smooth I stir it up and see if there are any chunks left. Puree again, if necessary. IMG_3601
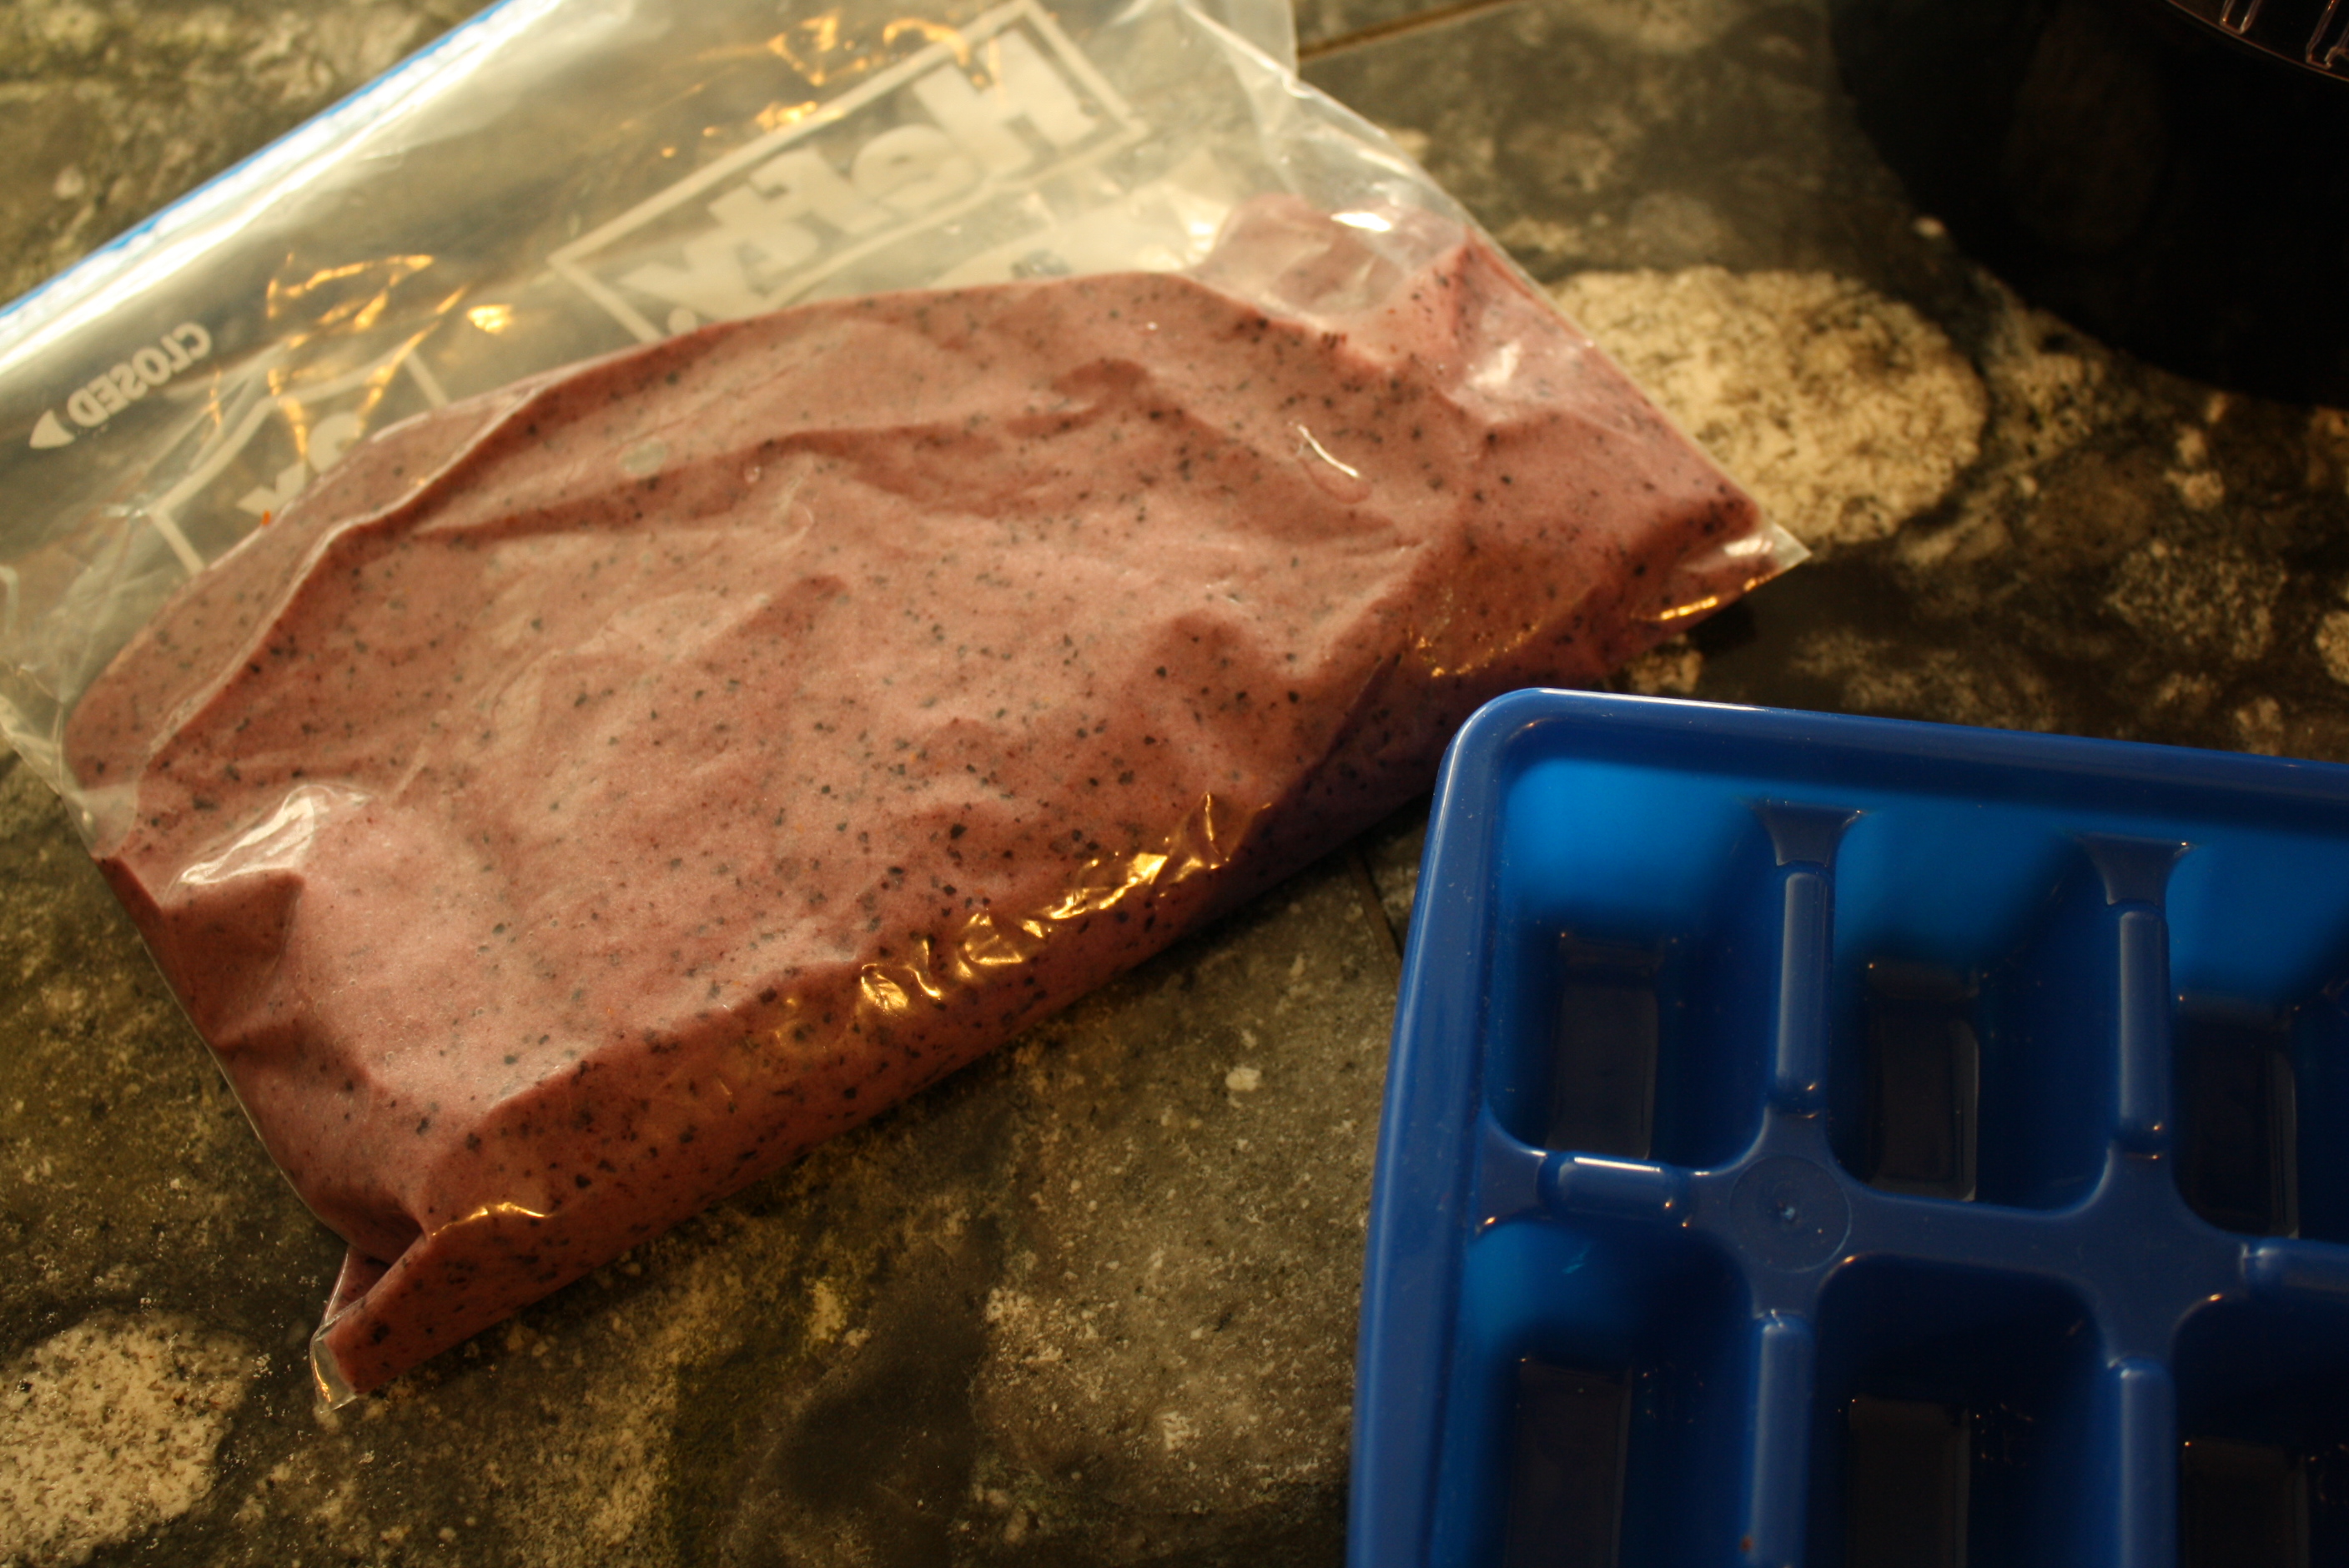
Once everything is the texture you want transfer the puree to a Ziplock bag and cut the tip off IMG_3603Fill the ice cube trays with the puree, cover with plastic wrap (to help prevent freezer burn) and put into the freezer.

One thing I want to point out is that this was really runny…more like a smoothie so I plan to mix this in with his baby cereal just to thicken it up. If you want it thicker try adding more blueberries or banana to the puree.

IMG_3645
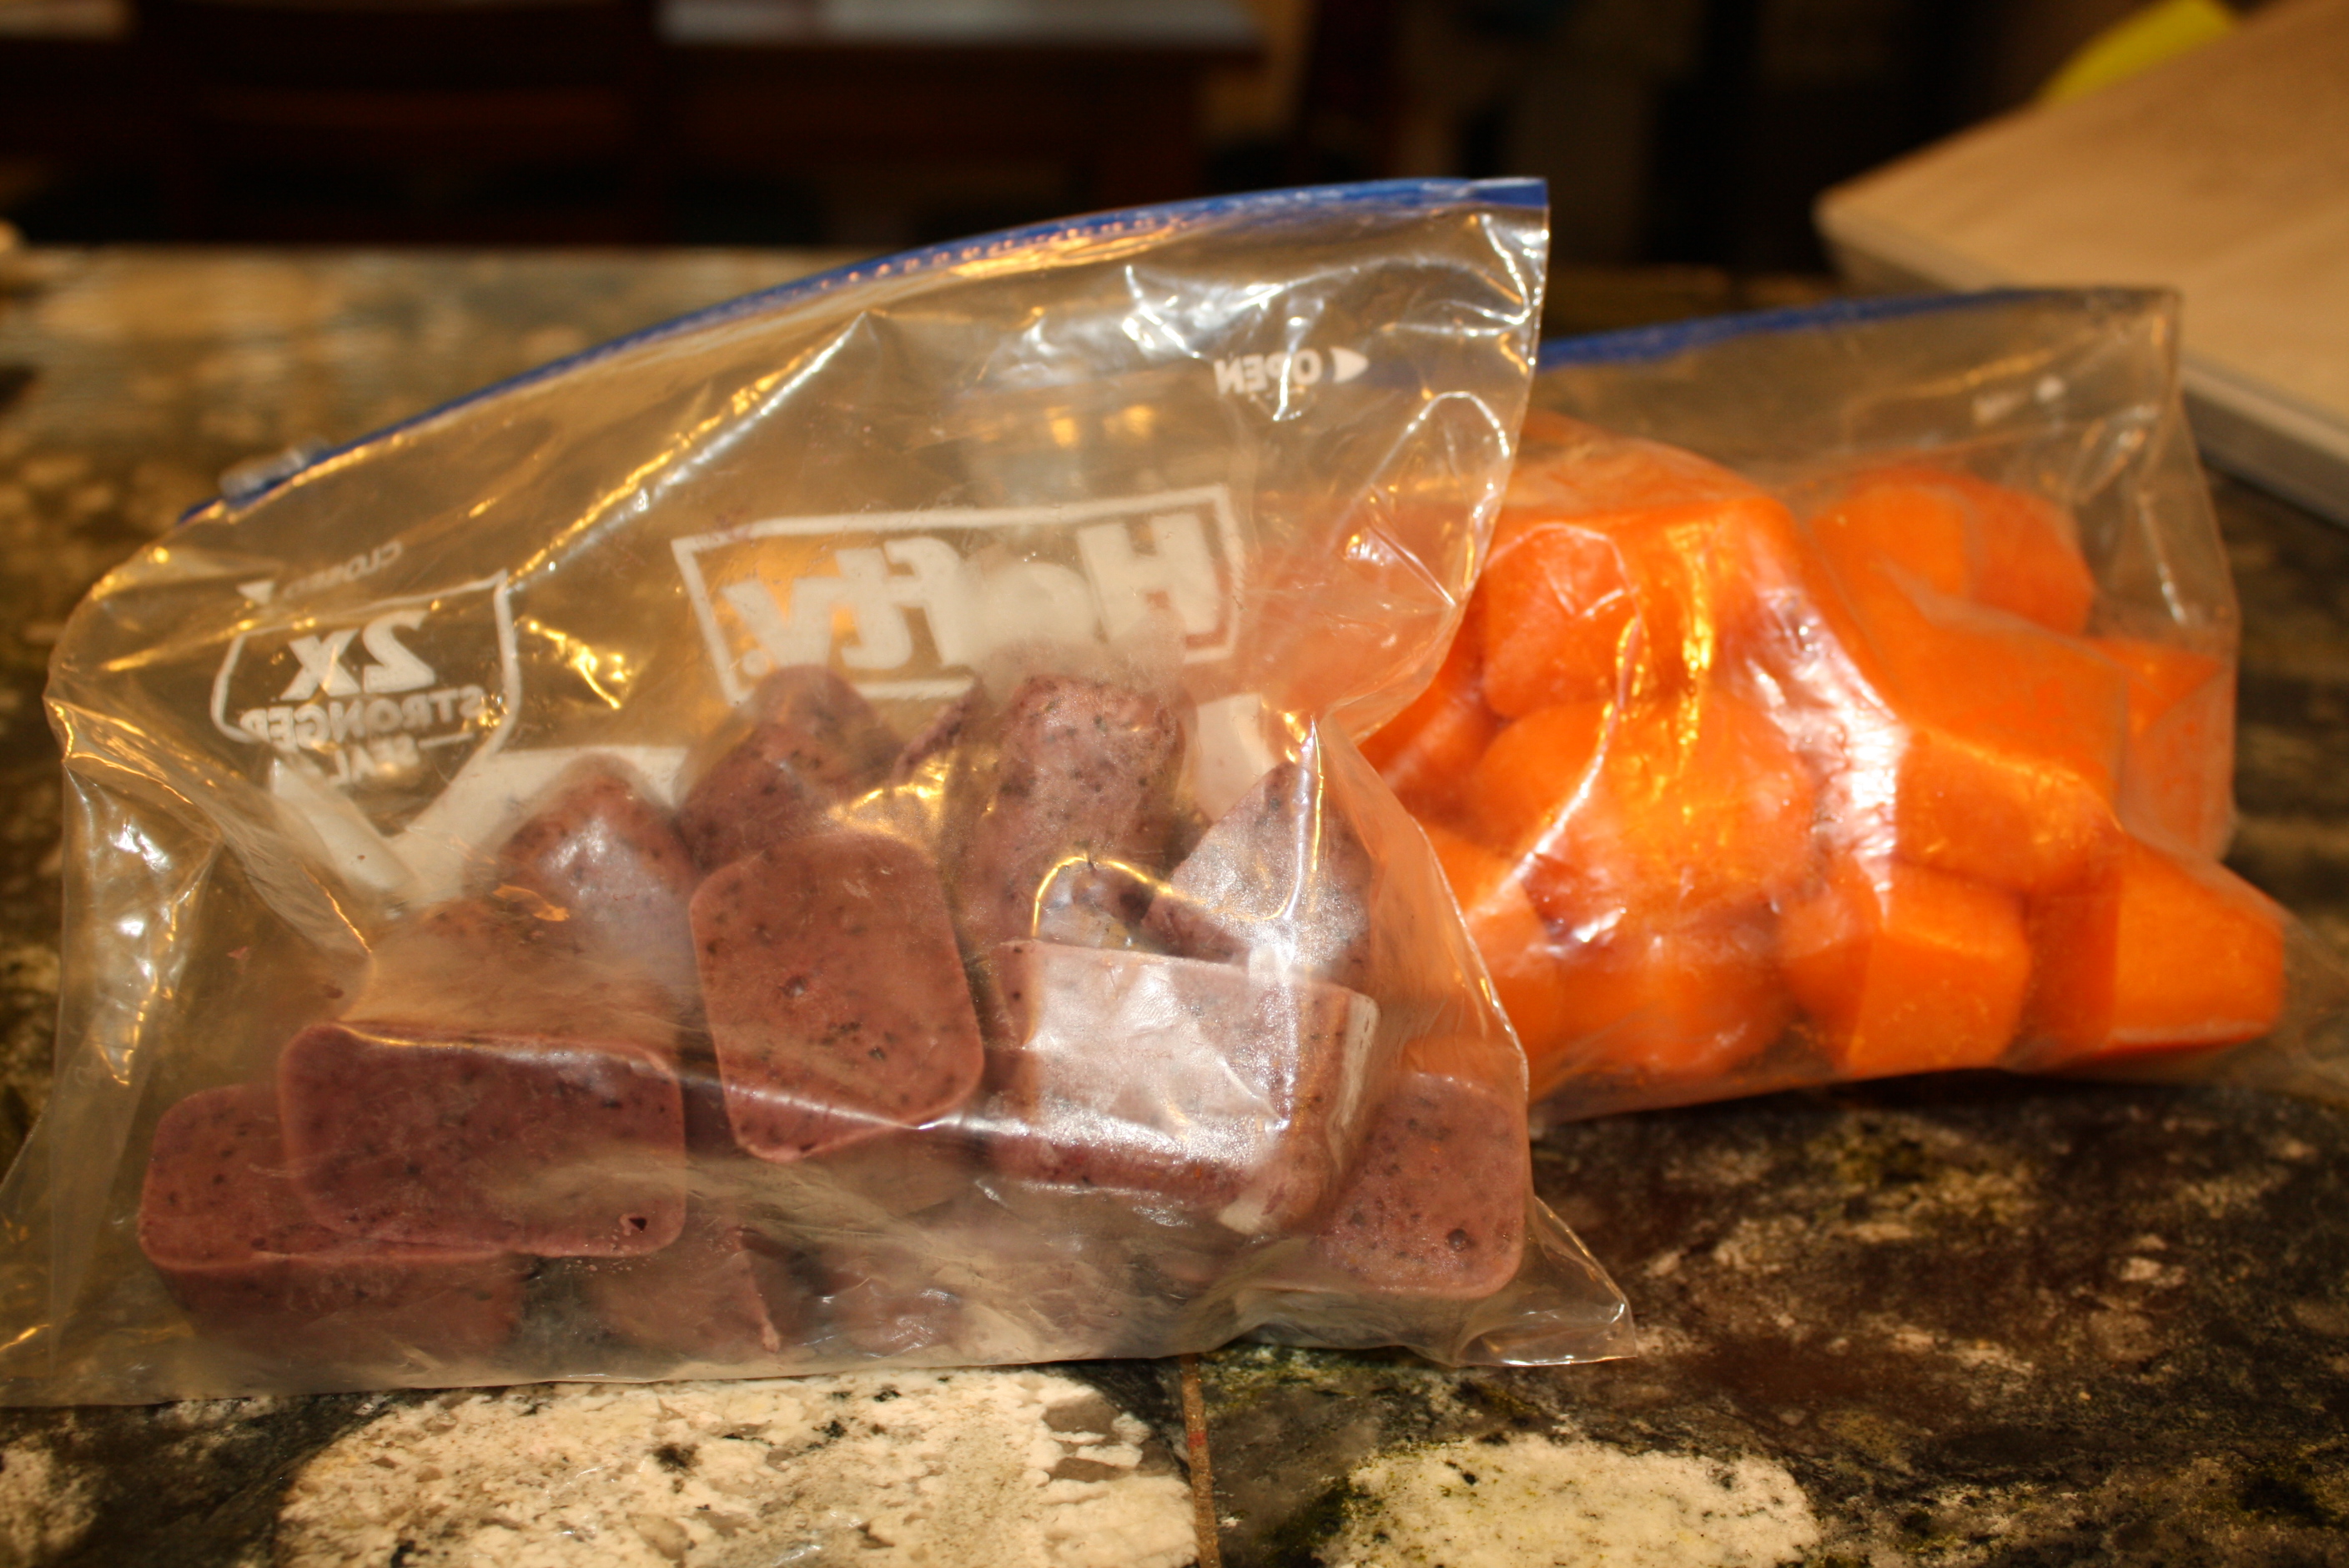
Once frozen, pop the cubes out and transfer to a freezer safe bag

For more detailed information on pureeing and baby food storage check this link out – Baby Food Storage/Puree

Carrots/Applesauce

Ingredients:

8 pealed and cut up carrots
3/4 Cup unsweetened applesauce
1/3-1/2 Cup of leftover water from boiling

IMG_3608

IMG_3611

Put carrots into a pan and cover with water. Bring to a boil then simmer on low for about 10 minutes or until tender. IMG_3613

Remove from pan with a slotted spoon – DO NOT DISCARD JUICES – we may need them later to thin out the puree. The juices have a lot of nutrientes so it’s best to use them to thin out the puree. IMG_3614
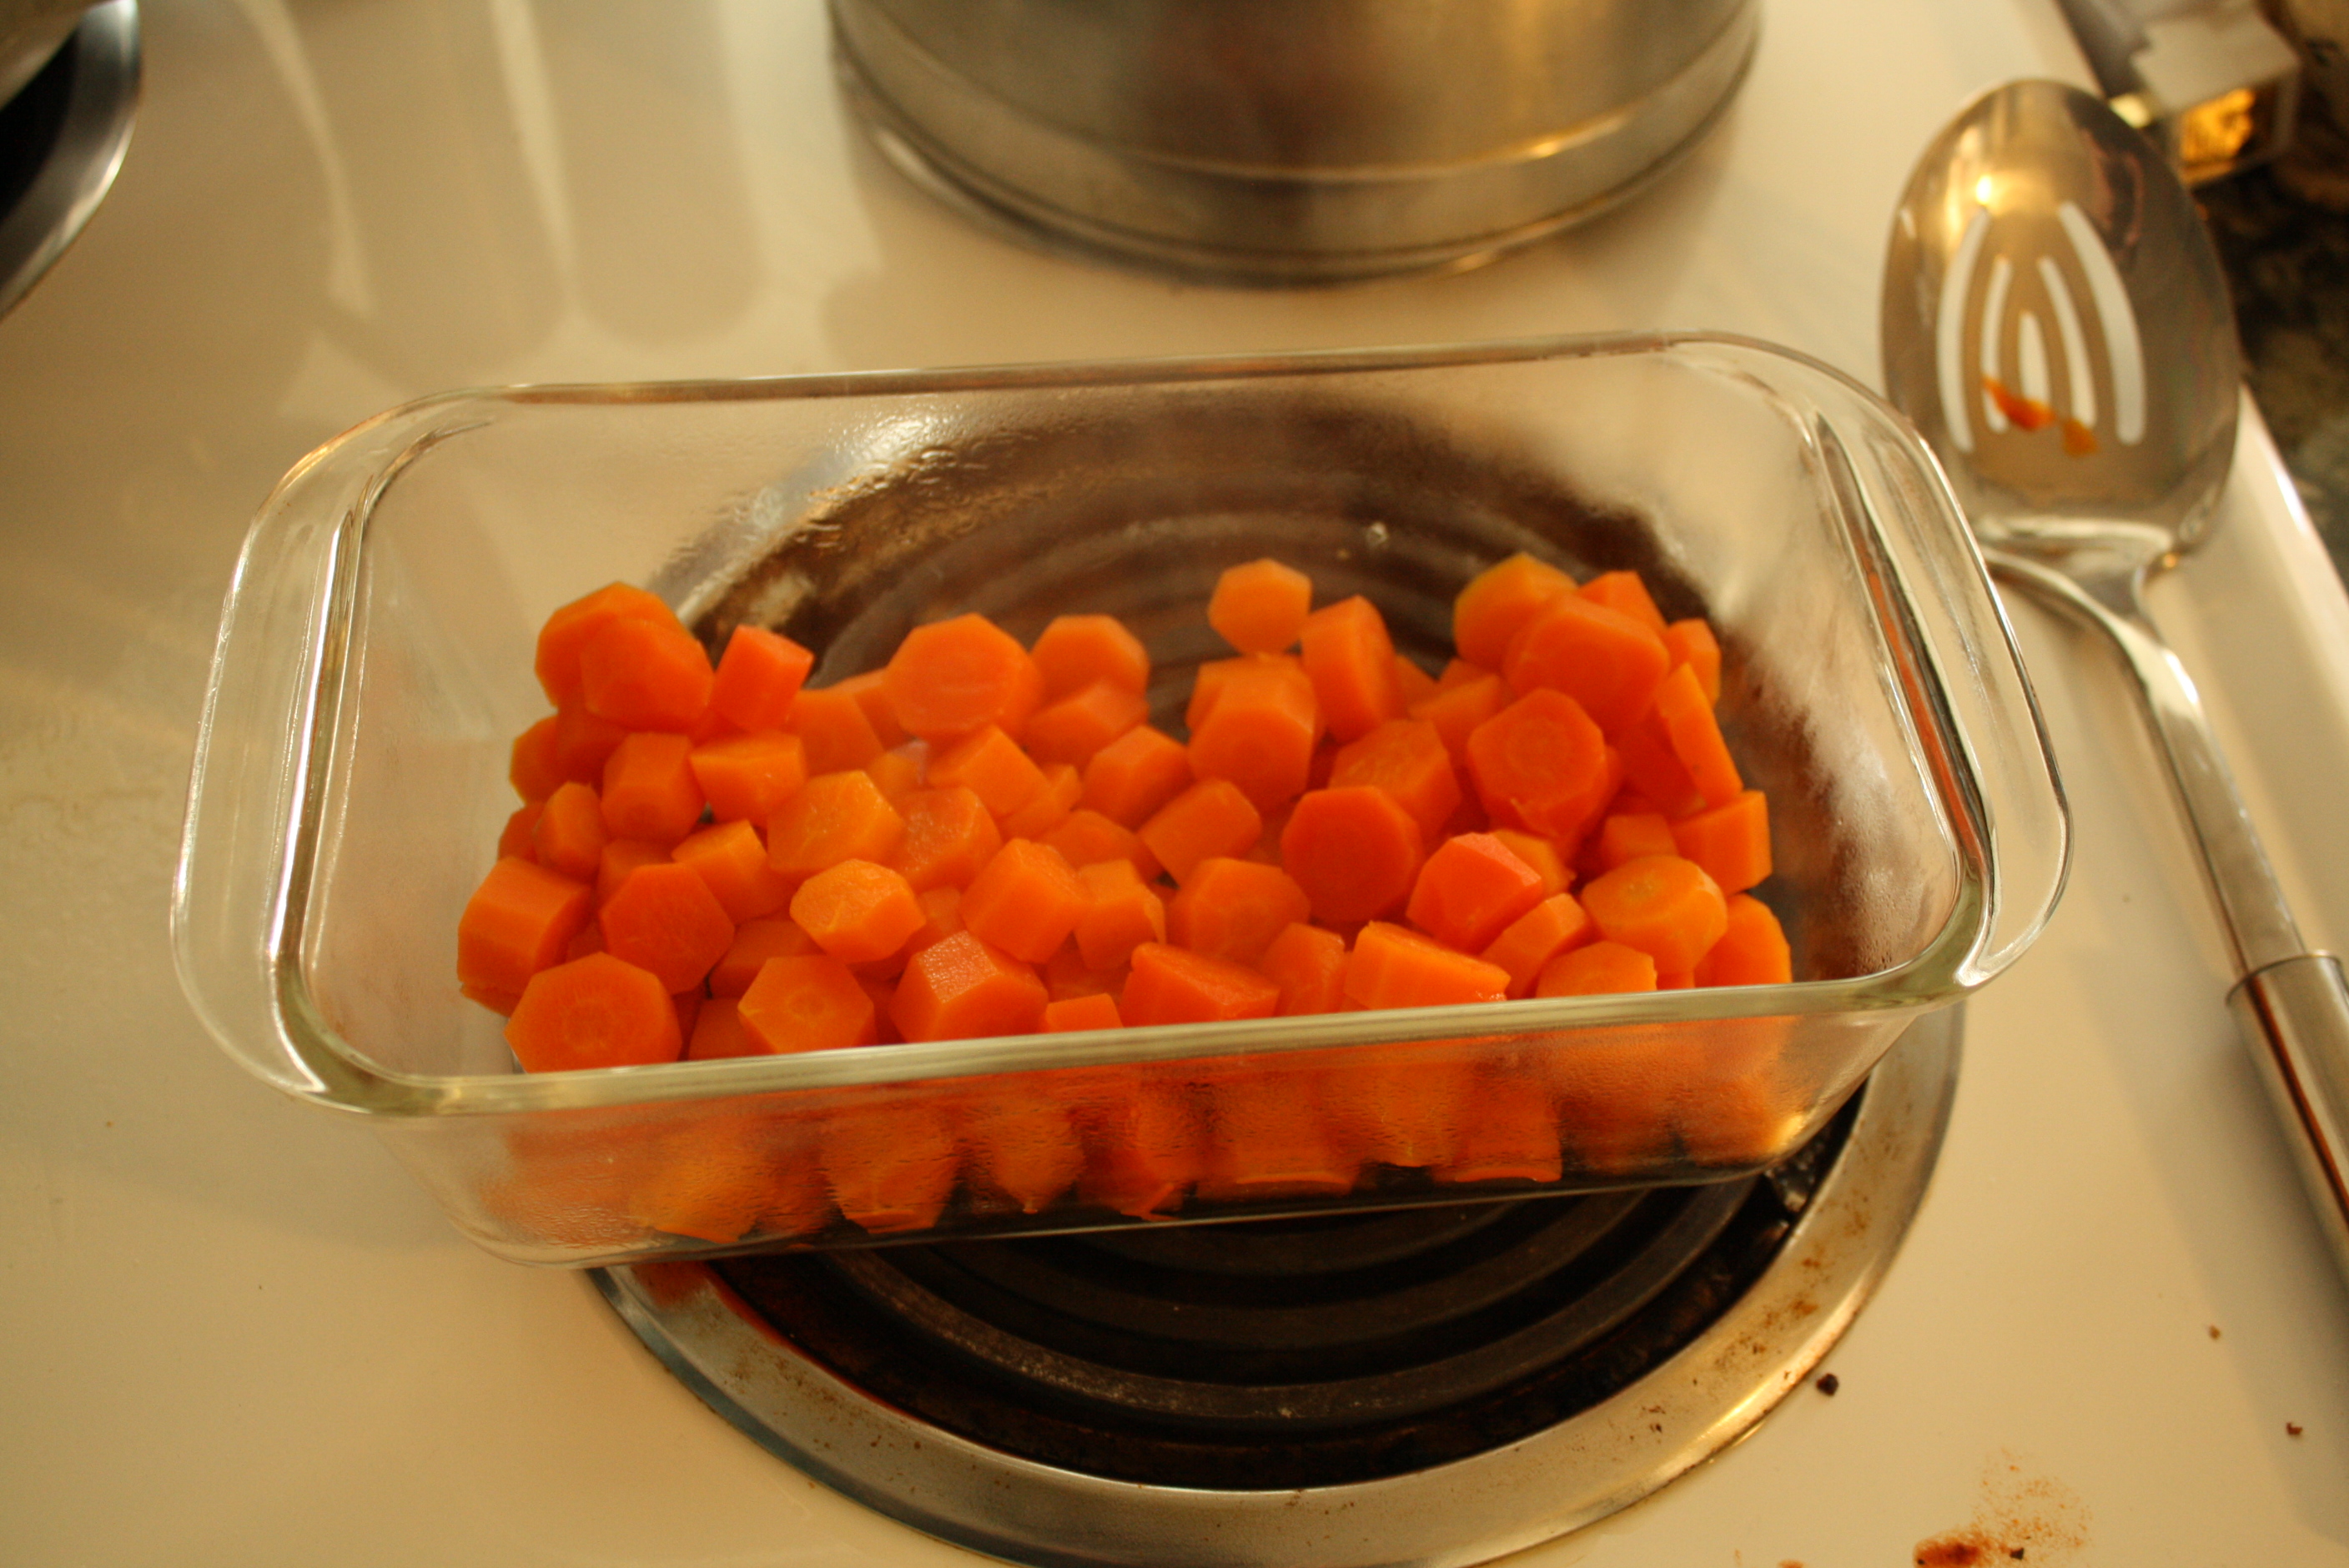
I moved mine to this loaf pan to let them cool a little bit before pureeing them.
IMG_3619I pureed them with about 1/3-1/2 cup of the juices, stirred, then pureed again. Once they were the right consistency (similar to the consistency of apple sauce), I added in the apple sauce and turned it back on to mix it all together.IMG_3625

Put it in my Ziploc back, cut the tip off and filled the ice cube trays! IMG_3627 Each cube is roughly 1 ounce. My son started out doing one or two cubes but now eats roughly 4-6 cubes for lunch and 6-8 cubes for dinner (in addition to his normal bottles of formula).

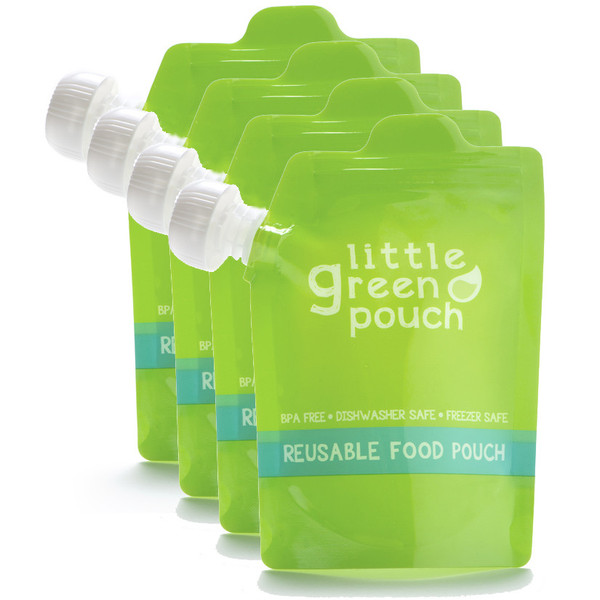
So here is the other thing I wanted to mention. Baby food pouches…they are A-MA-ZING! But can be really expensive. I love them for when we are on the go so I broke down and bought some Little Green Pouches. They are reusable and are $14.99 for a 4 pack. They hold 6 ounces (a lot of the other ones on the market only hold 2-4 ounces). The reviews are great on them and I love that they are dishwasher and freezer safe. They are back ordered right now so I’ll let you guys know how I like them after they arrive in a couple of weeks!

The other awesome thing about these is that my daughter can use them next year for kindergarten in her lunch box. I plan to fill them with applesauce, smoothies and yogurt!

4_pouches_6_grande

Let me know if you have any questions about baby food making. I’d love to help you get started. I love knowing exactly what my son is eating, and it’s a lot cheaper to make your own food!

Disclaimer:Ā I am not a nutritionist or baby food expert. This is just what I do for my son and it seems to be working well. If you have questions or concerns about introducing food to your baby please talk to your pediatrician.

Princess Lace Up Cards

Long time no blog! I’ve been super busy adjusting to life with two kids while trying to keep my house clean, and have food on the table at dinner time! I’m still crafting it just seems like I don’t have time to take pictures and post the projects!

Taylin has basically stopped taking naps, but for my sanity I still make her do quiet time everyday. This allows me roughly an hour to myself while the kids are both in bed.

The other day I decided I wanted to make a “quiet box” that is filled with toys/activities that she can play with during quiet time. I started looking through Pinterest and found a few fun ideas. This was the first thing I made for her quiet box.

IMG_3266 copyI found this great printable from Yellow Mums Blog and went straight to work. The instructions said to print these on card stock…I didn’t have any so I printed them on normal paper, glued them to construction paper then “laminated” then with clear contact paper. After they were done I punched the holes and cut some string. Taylin loves them!

They are a fun variation on paper dolls and will keep her occupied during quiet time! They would also be great for an airplane ride or long car ride!

Do you have any suggestions for quiet time activities?


Rustic Paint Stick Light

I’ve been plugging away at all the little projects to make Bryson’s room come together. Today I’m going to share the light I made for his room out of paint sticks. I saw this idea in Pinterest and knew it would work perfect in his room!

While we were at Home Depot picking everything up for the bathroom remodel I asked the paint counter if they sold bulk paint sticks. They told me no, but I could help myself to free paint sticks. I proceeded to explain that I wanted about 50 paint sticks for a project…I’m pretty sure they thought I was crazy but they were happy to give me all those paint sticks.

Next up I needed a lamp shade to use as the form for my paint sticks – I ran to Goodwill and found one that was the right size but was ugly camouflage! I put two quick coats of spray paint on so that it would blend in better (I forgot to take picts of this part of the process…fail!!)

Supplies:

  • Lamp Shade
  • 40-50 paint sticks – depending on your lamp shade size…you’ll just have to estimate
  • Stain – I used Minawax Jacobean
  • Tons of hot glue

I stained one paint stick to see if I the color was what I wanted. I started my first paint stick on the seam of the shade to make sure it was covered up.Then just keep gluing them all on. This probably took me 15-20 minutes.

The finished shade – now it was time to stain it.

Make sure you do the staining outside…it has a really strong smell. I just painted it on and the wiped it off with a rag.

Here is the finished product!! It turned our really well and was a super cheap project. It probably cost me about $6-$8. We did have to buy a kit to hang the light, which my husband wired in. That was an additional $15 but you may not need that if you are just making a lamp shade or if you can modify the current light to fit the new shade.

Faux Sheepskin Rug {Tutorial}

So I really wanted a faux sheepskin rug for Bryson’s room but when I started looking around for them they were pretty expensive or really small. Ikea has a couple real sheepskin rugs for pretty inexpensive but they aren’t very big.

My friend told me about the Fabric Depot website. She had ordered Mongolian Fur from them and she said it was really soft and a nice quality. I ordered 1 1/4 yards from them. It was on sale plus I found a coupon code I could use for 20% off!! I spent a total of $37.25 for a decent sized piece of fur.

I knew once I got it I wanted to cut the piece into an animal shape but it took me a couple of weeks to actually do it! I was so nervous that I would ruin it!
Here is what it looked like when I received the fabric

The first thing I did was draw the shape I wanted with a sharpie

After I cut out the rug I used Fray Check around the edges to help stop it from fraying.

After letting the Fray Check dry for about 20 minutes I flipped the rug over and here is my finished product!!

I must say that I love how it turned out and it’s fun to think I made it myself!

Yep I Got That on Craigslist…

We have gotten a TON of our furniture and awesome things for our house for free or super cheap on Craigslist. People are always asking me how we have gotten such great things so I decided to put together a few tips I have learned along the way!

Patience, patience, patience!! If you want a good deal you have to be willing to wait. Sometimes you will find exactly what you want right away – example my husband and I had been talking about getting my daughter a sandbox and he was ready to settle for getting a kiddie pool and filling it with sand. I was not a fan of that idea, I really wanted something that would still look nice in our back yard. I hopped on CL and found this bad boy during my first search for a sandbox!

It took a little work to get it to fit into our truck but turned out great in the end. Tay loves it and the top goes up and down to keep the cats out!

Check CL often. I check it at least once a day and more, like 2-3 times per day if I’m looking for something specific.

Search for free items in other categories. Often people post free items in other categories. Try searching “free” in the furniture section and you will likely find some items.

Don’t give up when people don’t email you back! A lot of people on CL are flaky and never respond or don’t delete a post after the items are gone. I try hard to never get attached to something until it’s in my hands. If you don’t hear back move and don’t give up because persistence pays off!

Don’t go by yourself to pick up item and meet in a public place when possible. Remember to be safe. I never do CL pickups without my husband – often he goes with a friend or by himself.

A few items I scored on CL (Click image to enlarge)

Another way to score great furniture/items for your house is let your family and friends know that you want to know if they are getting rid of anything! We have gotten a free couch, dining table (with a leaf and 6 chairs), an end table, my amazing buffet (see below), a twin bed, and pressure washer. If you can be patient you will find what you want hopefully at a great price!

Keep searching CL – it will pay off!! Happy Hunting!

How to use Rit Dye {A Tutorial}

I wanted to do a quick tutorial because a bunch of my friend have said that they were scared of Rit Dye and they thought they would end up with dye all over them…hopefully from my tutorial,Ā you will see that is not the case and it’s a really simple process. The process I’m showing you is one of multiple ways you can dye fabrics, you can also do it in your washing machine or on the stove top. I haven’t tried either but I’m sure they work as well.

Materials:

  • Clothing item or fabric to Dye
  • Rit Dye
  • Tub or Sink
  • Tongs or spoon
  • Rubber Gloves (optional)
  • Apron (if your worried about splashing)

Total Cost of project – $3.00 for cardigan at Value Village + Rit DyeĀ for Ā $2.50 at Joann’s = $5.50 for a cute “new” sweater!

Before

The color I used is called Golden Yellow – if you want a specific color that they don’t sell thisĀ link to the Rit Dye websiteĀ that will tell you how to mix ANY Color!! It’s superĀ cool and really easy to mix colors! I’m going to try it next time! I filled my sink 1/3 of the way full with hot water then poured 1/2 the pack of dye into a measuring cup and let it dissolve for a couple of minutes (stirring often). It’s really important that the dye is completely dissolved otherwise your fabric will not dye evenly!

Pour into sink and stir well – I used tongs to stir the water and my cardigan so that my hands didn’t also end up dyed in the process!

Put sweater into water and stir constantly for 10-30 min until you get the color you want. (I did mine for 20 min.) Note: your fabric will be roughly 2-3 shades lighter than what it looks like wet.

Rinse until water runs clear starting with warm water and slowly working cooler until you end with cold water. This is important because it helps to set the color.

Wash and dry by its self so it doesn’t bleed onto other clothes

Enjoy!!

Paper Garland

Tonight I felt like being crafty so I whipped up a paper garland for some of Tay’s B-day party decor. This project only took me about 15-20 minutes and I’ll probably make another one! This is such a cute idea I’m thinking it would be fun to make them for Christmas decorations as well! It sort of reminds me of the old school paper chains we used to make in grade school!

Materials:

  • PaperĀ  – scrapbook paper or construction paper
  • 2 inch hole punch (I got mine with a 50% Joann’s coupon)
  • sewing machine

I started by punching tons of circles in coordinating colors

I separated them into 3 piles and started sewing. Make sure you start with long tails of thread so you have a way to hang it.

Here is the finished product…it turned out so cute and this was the easiest project!! After the party I’m going to hang it in Tay’s bedroom!

This picture is only showing part of the garland it’s probably 20-30 feet long!

Pull String Pinata

Tay’s birthday party is coming up next month and I’m having so much fun planning it this year! I’m doing a princess tea party in our back yard. I saw this cute pull string Pinata on Young House Love and knew I had to make it! I did this project in two different nights and I think it turned out really well.

Supplies:

  • Balloon (I used a “punching balloon” from the dollar store)
  • Newspaper strips
  • Paper Mache (1 part water, 1 part flour)
  • Tissue Paper
  • Hot Glue Gun

The first night night I did the paper mache and then let is dry. Then I cut a flap and put all the candy into the pinata. I added 10 pull strings to the flap and duct taped them on. I duct taped the flap closed and started adding on the tissue paper. I tried taping the tissue but it really wouldn’t stick to the paper mache so I used hot glue and it worked great. Here is the finished product. I hope Tay likes it!!!

For more detailed instructions follow the tutorialĀ on Young House Love!!